Post by valleyforge on Jan 21, 2011 23:14:00 GMT -5
Hello, all,
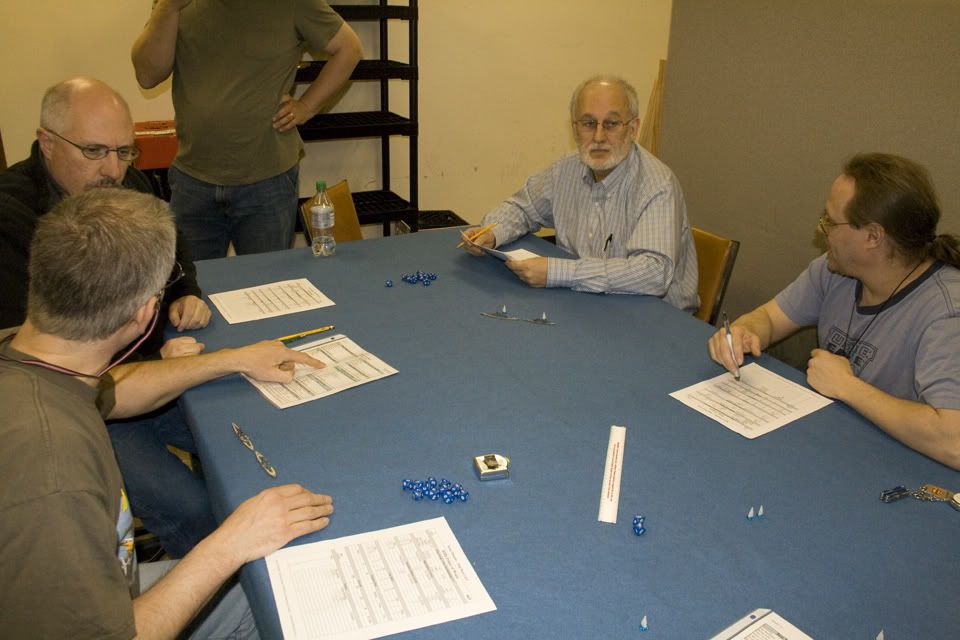
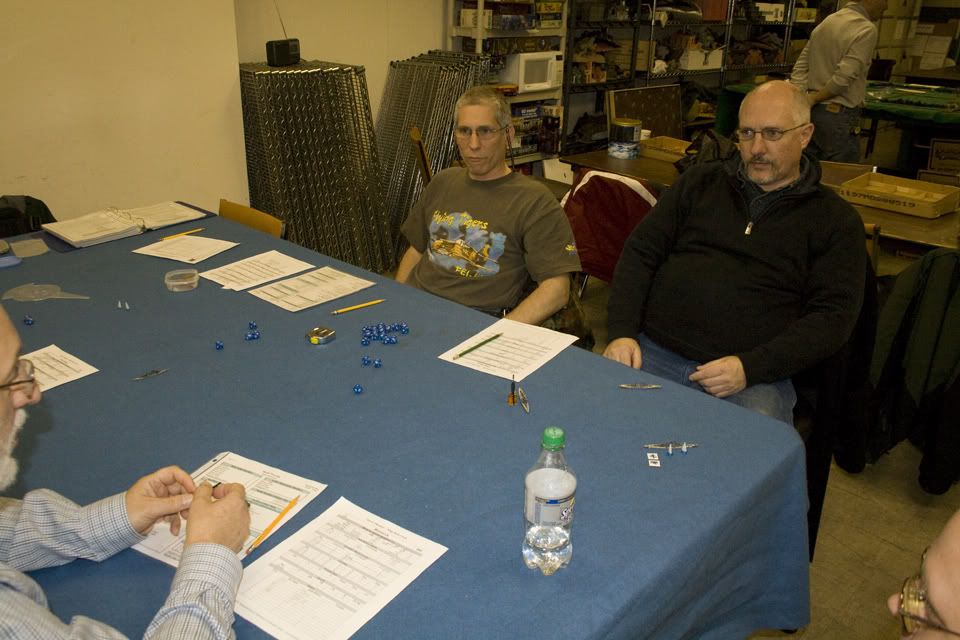
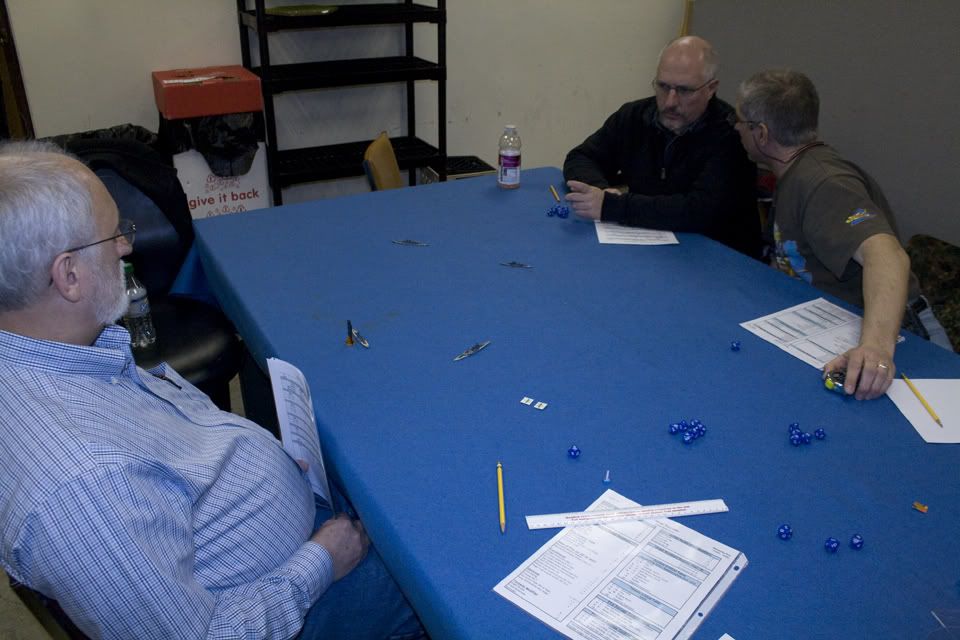
With many thanks to Harry, I have been running demos of Battleship Row/Bitter Rivals at my favorite local game store, to build support for Naval Thunder. The player turnout has been great, and the rules have been very well received. The location was Games Plus, in Mount Prospect, IL (a suburb of Chicago).
As I learned from Harry at GenCon 2010, the scenario "Battle of the Denmark Strait" (from Bitter Rivals) makes a great demo event. It is a straight-up slug-fest between some of the most famous ships in WW2, it accommodates up to four players, and it can be finished in two hours, which means I can introduce more players to the game. Getting started involved the easy task of buying and painting the relevant ships, and scheduling time at the store.
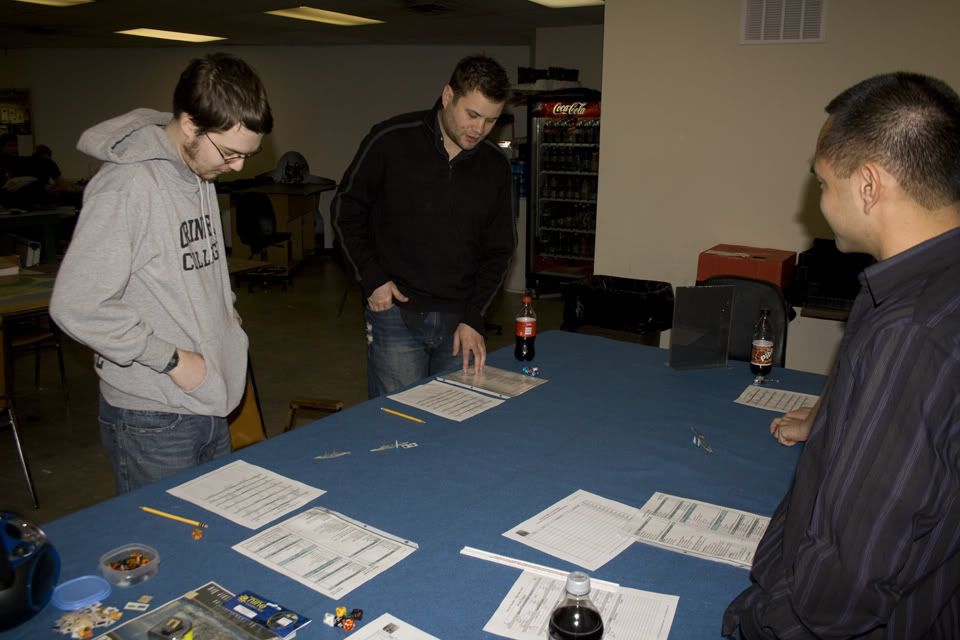
My first session of that particular day attracted one experienced player and three new players, including one chap who came all the way from Ireland to play! OK, I exaggerate just a little -- he was in town for other business, but had been wanting to try Naval Thunder for some time. After a quick intro to the rules and ship data cards, the players chose their sides (the experienced player sportingly gave the new guys first choice) and things got underway.
Bismarck and Prinz Eugen stayed in line formation on Turn 1, changing course immediately and running for the exit point. Hood and Prince of Wales sailed full steam ahead in line formation, and fired the opening salvos of the encounter. Hood's forward turrets drew first blood, smashing the Bismarck's hull with 20 points. British enthusiasm leaped to a premature high at the thought of an easy victory. Strangely, Bismarck and Prinz Eugen held their fire (did the Admiral's ghost reach out from beyond the grave to hold their guns in check?).
On Turn 2, Bismarck and Prinz Eugen remained in formation and continued to make best speed for the exit point. Hood and Prince of Wales also remained in formation and continued to send shells downrange at the Germans, but this time the order came from the Bismarck's bridge: "Fire!" Cheers went up as a shell from Turret Anton struck the Hood below the waterline, causing 5 points of damage that triggered flooding. Crews raced to man the pumps while shells from the Hood splashed harmlessly all around the Bismarck. Despite the volume of fire directed at the German battleship, Prince of Wales also managed to hit her, for 8 points. The gods of war must have been hungry, because even at that range, Prinz Eugen was able to deal some damage to the Hood (a relative scratch at 4 points, but a hit nonetheless).
On Turn 3, Hood and Prince of Wales broke formation and moved independently, deciding that speed was more important as they hedged their bets. Bismarck and Prinz Eugen steamed ever onward in formation. Again, Bismarck targeted the Hood with all guns, causing 15 points of damage and starting a fire (which inflicted 2 points, plus 2 more points when the Hood failed to put it out during the end phase). Never one to quit, Hood's return salvo pierced the Bismarck's deck and ruined machinery in her engine room, robbing her of much-needed speed. Going against orders, Prince of Wales changed targets and aimed for the Prinz Eugen, dealing 11 points of damage and destroying two of the heavy cruiser's secondary turrets. The tactic was ill-advised, but the results were deemed satisfactory. Prinz Eugen kept its guns trained on Hood, and somehow managed to inflict yet another 4 points on the pride of the Royal Navy.
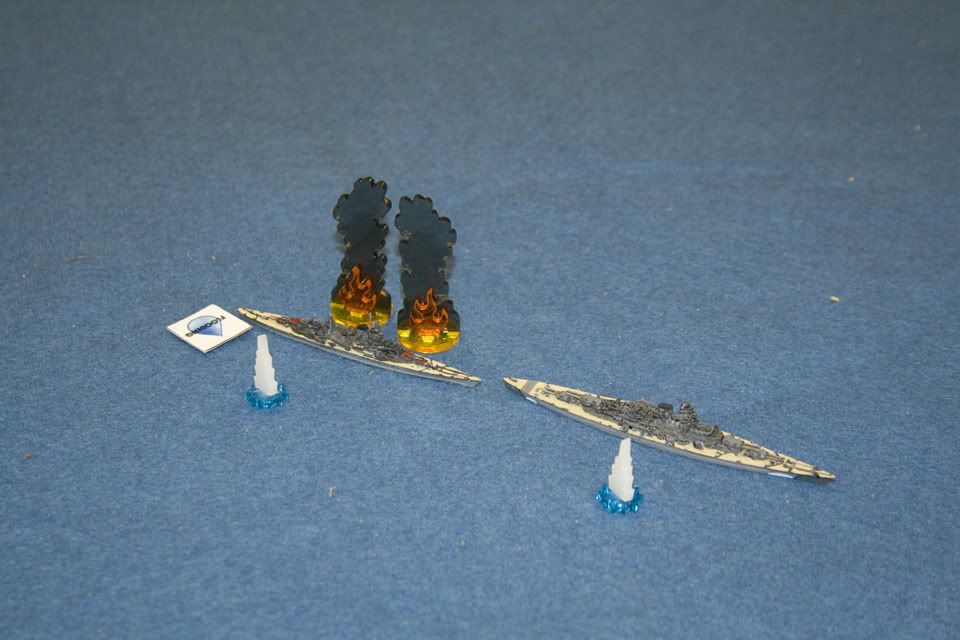
Turn 4 opened with fires still raging out of control on the Hood, which was now slowing down and listing (having failed to control the flooding inflicted by Bismarck earlier). Despite this damage, Hood bravely pressed the attack and scored a hit on Bismarck, but the resulting 5 points barely scratched Bismarck's paint (the British needed to bring more turrets into play, but they felt they were still too far from the Bismarck to lose time turning to give her a broadside). Almost as an afterthought, secondary batteries from the Hood strafed the Prinz Eugen for just 1 point, effectively only sweeping some clutter from her decks (a cheeky German sailor called out "Thanks!" in reply).
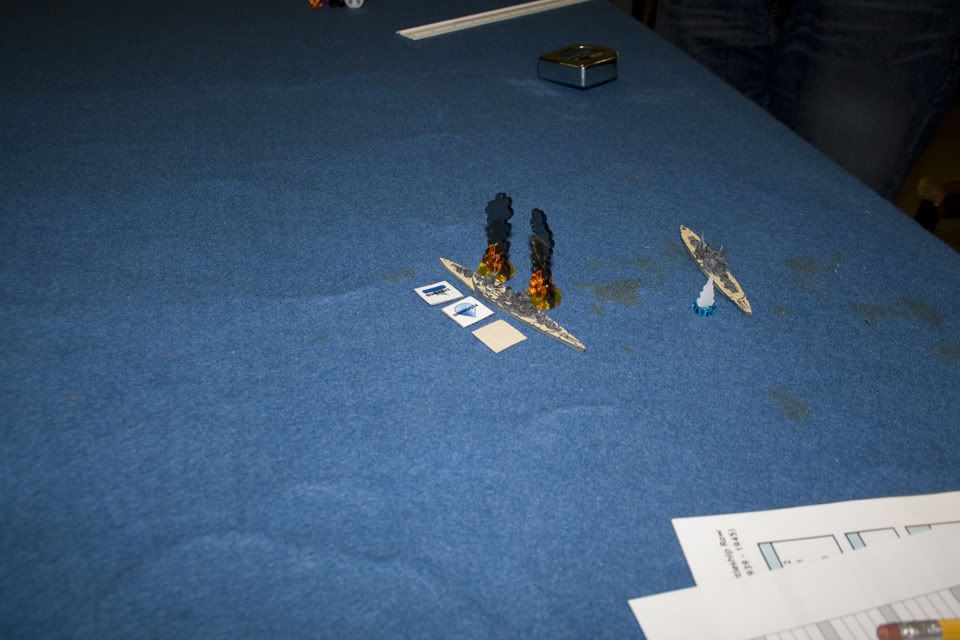
Still going against orders, the Prince of Wales again fired all guns at Prinz Eugen, shredding the smaller ship's superstructure and hull with 20 points that damaged the ship's engines and caused serious flooding that would leave the battered vessel listing by the end of the turn. In response, Bismarck's guns savaged the Hood for 30 points, starting another fire on the deck and damaging the Hood's Fire Control systems!
Prinz Eugen's bulkheads groaned as one compartment after another filled with water, but she wasn't finished yet. She delivered another 4 points to the beleaguered Hood, which still couldn't bring its fires or flooding under control (this led to another hit to Fire Control and 10 more points of damage in the end phase). Both sides fought on.
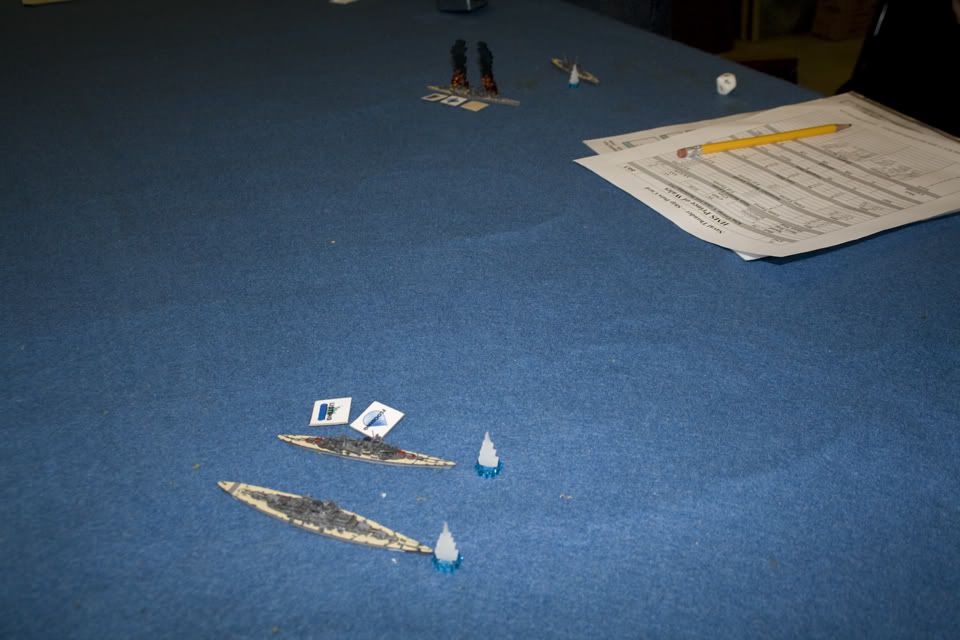
Turn 5 opened with Bismarck turning her attention to the Prince of Wales, destroying her B turret and dealing 10 points of damage. For its part, Prince of Wales's B turret failed to fire due to mechanical failure, despite the best efforts of the civilian engineers, but her A turret dealt a hefty 17 points to Bismarck and struck the engine room again! It began to seem as if Bismarck might lose the battle for want of an undamaged drive-shaft. Sensing an opportunity, this time it was the Hood that fired at the wounded Prinz Eugen, hoping to end the smaller ship's career once and for all. Hood's shells dealt 10 more points and destroyed another of the Prinz Eugen's secondary turrets.
Prinz Eugen's return fire slammed the Hood for 9 points and damaged the famous battle cruiser's engines, but the valiant Prinz Eugen had suffered too much, and she capsized and sank shortly thereafter. Staff officers on the bridge of the Bismarck sadly noted the event in the log book and offered silent prayers for their comrades. With the Prinz Eugen gone, British hopes for victory began to rise again, even though fires continued to burn out of control on the Hood (for an additional 7 points).
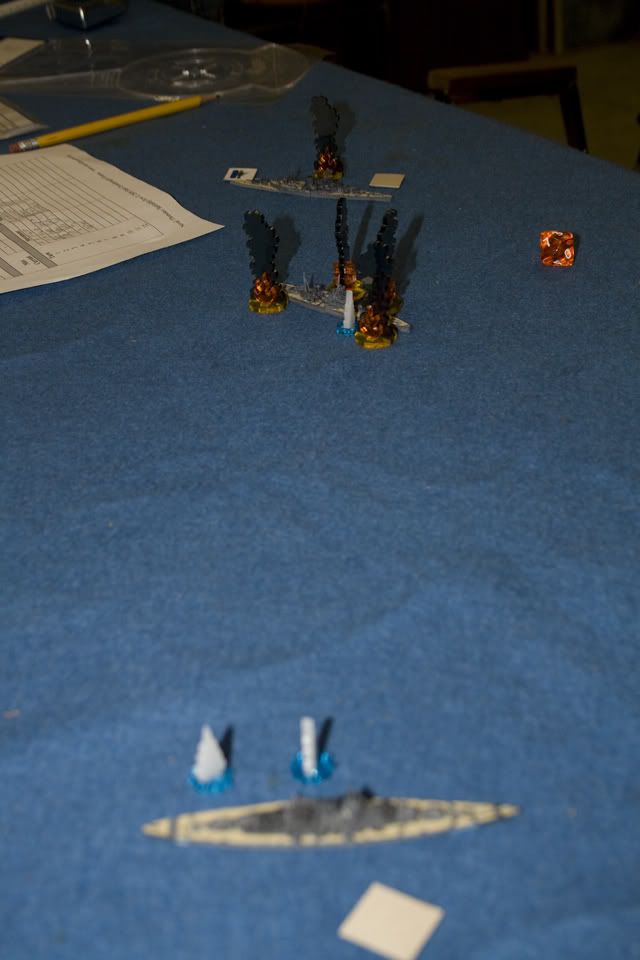
Turn 6, and the sky was full of shells. Smoke and flooding no doubt contributed to the Hood's fire going astray. Still riding high from last turn, Prince of Wales dealt a hefty 22 points to Bismarck, destroying a secondary battery and damaging the Bismarck's aft Fire Control station.
Despite the volume of incoming fire, Bismarck's gunners had lost none of their nerve, blitzing the Prince of Wales for 25 more points, damaging her rudder (locking it into a "port" turn attitude) and starting a fire on deck. During the end phase, both Hood and Prince of Wales suffered from uncontrolled fires, Hood taking 4 more points and Prince of Wales losing a secondary battery to ready ammo explosions.
Turn 7 saw the Bismarck draw ever closer to the exit, but the stately British ships were drawing ever closer to Bismarck. Prince of Wales' guns dealt 13 total points to Bismarck, but Hood could not find the range through the pall of smoke and splashes. Bismarck's shells struck the Prince of Wales like Thor's hammer, mauling the British battleship for 32 points of damage, destroying Turret A and a secondary turret, and starting another fire. Short of a miracle, it looked like the Bismarck just might make it off the map. During the end phase, Hood finally put out one fire and got its flooding under control. Prince of Wales put out one fire, only to see another spread out of control.
Hood's commander finally decided to bring the rear turrets into play, and swung the ship to starboard for a broadside, dealing 10 points to the Bismarck and scrapping one of her secondary turrets. Prince of Wales's remaining main turrets failed to fire due to persistent and recurring mechanical failures, but her secondary turrets did manage to inflict a superstructure hit on Bismarck, taking out another secondary battery. In the end phase, Prince of Wales' firefighters went above and beyond the call, extinguishing all three ongoing fires at once.
Moving slower but still inching closer to the exit point, Bismarck again targeted the Hood, hoping to send her to the bottom, but settled for inflicting 10 points and wrecking Hood's #2 main turret.
Turn 9 signaled the beginning of the end as the unflinching combatants hurled shells, bullets, insults, and anything that wasn't bolted down across the shortening distance. Prince of Wales maneuvered to bring her aft turrets into play, but mechanical problems again kept her out of the fight. Hood did her best, but residual damage from earlier must have been interfering with her Fire Control because she couldn't find the range. Bismarck, however, mercilessly pounded Hood with all guns, dealing another 10 points, starting a new fire, and destroying one of the Hood's torpedo mounts just as the battle cruiser was about to enter effective torpedo range.
Turn 10 would prove to be the last turn of the game. The finish would be very close indeed, as the Prince of Wales drew alongside Bismarck and passed within several hundred yards, vainly trying to stop the progress of the German juggernaut. Unfortunately, Prince of Wales' remaining guns either misfired or missed their mark. Hood's attacks, too, were sadly ineffective, which left only the guns of Bismarck to settle the affair.
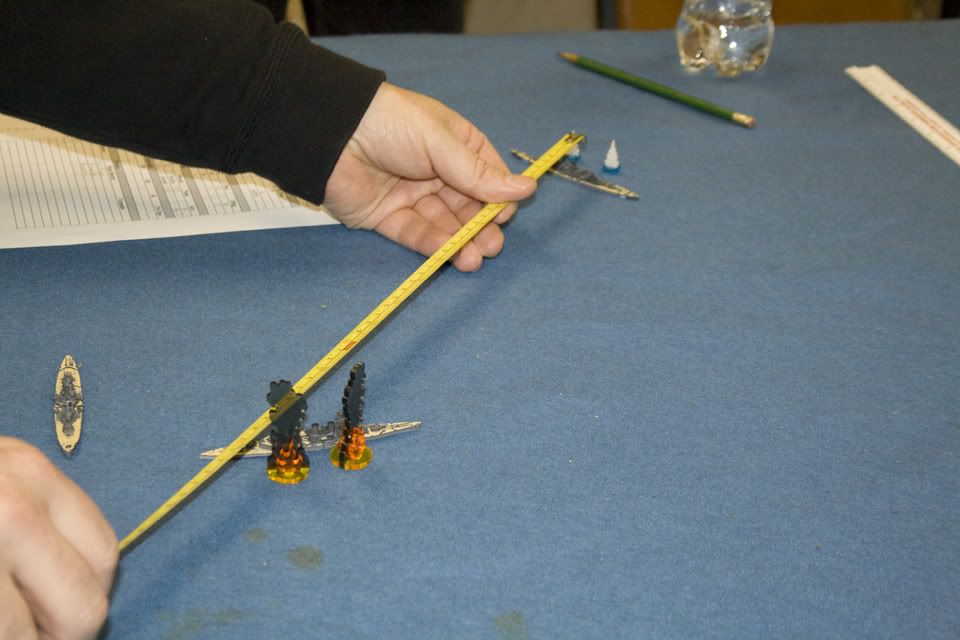
Bismarck split her fire between Hood and Prince of Wales, and it proved as accurate as ever. Hood took 10 more points, and then, as a final insult, Bismarck obliterated the last operational main turret on Prince of Wales, hit her Fire Control center, and slammed her for 25 more points of damage! Eager to save their commands, the British conceded the battle. Bismarck proudly sailed across the exit point to claim her victory, but she, too, had taken a beating. By battle's end, her remaining Hull rating sat in the low 30s, she was missing a few weapons, and she was suffering reduced Fire Control efficiency and greatly-reduced speed. Turrets Anton, Bruno, Caesar, and Dora were still operational, but even so, we suspect she would have had little chance of making it safely back to port for badly-needed repairs.
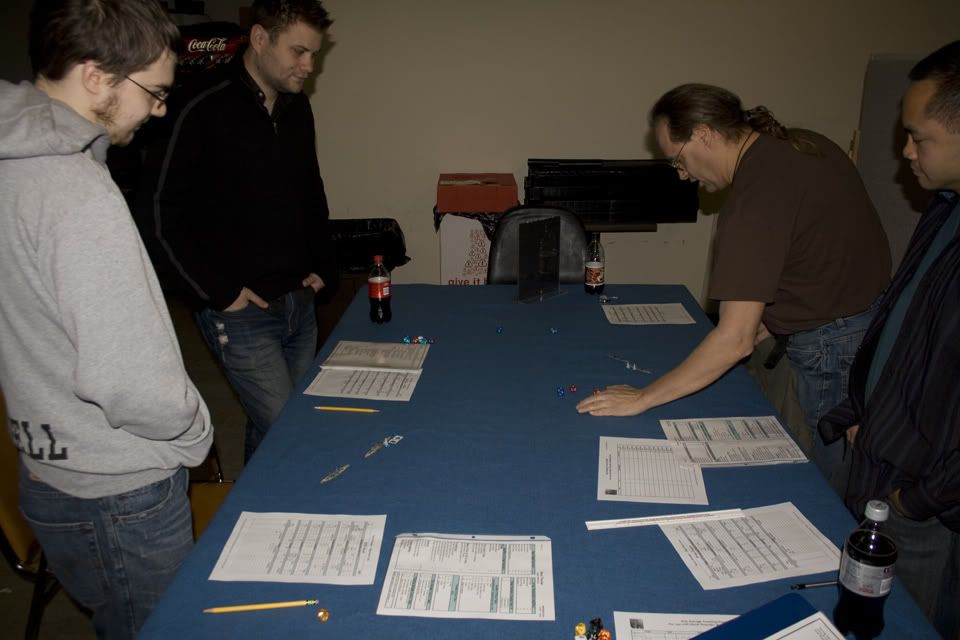
All of the players shook hands over a well-fought battle. As I mentioned earlier, they were very happy with Naval Thunder, and everyone expressed a strong desire to play again. Since I enjoy Naval Thunder, I hope to oblige them in future. And before anyone asks, yes, I will be posting photos of this event in this thread as soon as I can edit and upload everything to an appropriate service. I want to express my thanks again to Harry for writing a cracking game, and for making these demos possible!
Cheers!
***************************************
With many thanks to Harry, I have been running demos of Battleship Row/Bitter Rivals at my favorite local game store, to build support for Naval Thunder. The player turnout has been great, and the rules have been very well received. The location was Games Plus, in Mount Prospect, IL (a suburb of Chicago).
As I learned from Harry at GenCon 2010, the scenario "Battle of the Denmark Strait" (from Bitter Rivals) makes a great demo event. It is a straight-up slug-fest between some of the most famous ships in WW2, it accommodates up to four players, and it can be finished in two hours, which means I can introduce more players to the game. Getting started involved the easy task of buying and painting the relevant ships, and scheduling time at the store.
My first session of that particular day attracted one experienced player and three new players, including one chap who came all the way from Ireland to play! OK, I exaggerate just a little -- he was in town for other business, but had been wanting to try Naval Thunder for some time. After a quick intro to the rules and ship data cards, the players chose their sides (the experienced player sportingly gave the new guys first choice) and things got underway.
Bismarck and Prinz Eugen stayed in line formation on Turn 1, changing course immediately and running for the exit point. Hood and Prince of Wales sailed full steam ahead in line formation, and fired the opening salvos of the encounter. Hood's forward turrets drew first blood, smashing the Bismarck's hull with 20 points. British enthusiasm leaped to a premature high at the thought of an easy victory. Strangely, Bismarck and Prinz Eugen held their fire (did the Admiral's ghost reach out from beyond the grave to hold their guns in check?).
On Turn 2, Bismarck and Prinz Eugen remained in formation and continued to make best speed for the exit point. Hood and Prince of Wales also remained in formation and continued to send shells downrange at the Germans, but this time the order came from the Bismarck's bridge: "Fire!" Cheers went up as a shell from Turret Anton struck the Hood below the waterline, causing 5 points of damage that triggered flooding. Crews raced to man the pumps while shells from the Hood splashed harmlessly all around the Bismarck. Despite the volume of fire directed at the German battleship, Prince of Wales also managed to hit her, for 8 points. The gods of war must have been hungry, because even at that range, Prinz Eugen was able to deal some damage to the Hood (a relative scratch at 4 points, but a hit nonetheless).
On Turn 3, Hood and Prince of Wales broke formation and moved independently, deciding that speed was more important as they hedged their bets. Bismarck and Prinz Eugen steamed ever onward in formation. Again, Bismarck targeted the Hood with all guns, causing 15 points of damage and starting a fire (which inflicted 2 points, plus 2 more points when the Hood failed to put it out during the end phase). Never one to quit, Hood's return salvo pierced the Bismarck's deck and ruined machinery in her engine room, robbing her of much-needed speed. Going against orders, Prince of Wales changed targets and aimed for the Prinz Eugen, dealing 11 points of damage and destroying two of the heavy cruiser's secondary turrets. The tactic was ill-advised, but the results were deemed satisfactory. Prinz Eugen kept its guns trained on Hood, and somehow managed to inflict yet another 4 points on the pride of the Royal Navy.
Turn 4 opened with fires still raging out of control on the Hood, which was now slowing down and listing (having failed to control the flooding inflicted by Bismarck earlier). Despite this damage, Hood bravely pressed the attack and scored a hit on Bismarck, but the resulting 5 points barely scratched Bismarck's paint (the British needed to bring more turrets into play, but they felt they were still too far from the Bismarck to lose time turning to give her a broadside). Almost as an afterthought, secondary batteries from the Hood strafed the Prinz Eugen for just 1 point, effectively only sweeping some clutter from her decks (a cheeky German sailor called out "Thanks!" in reply).
Still going against orders, the Prince of Wales again fired all guns at Prinz Eugen, shredding the smaller ship's superstructure and hull with 20 points that damaged the ship's engines and caused serious flooding that would leave the battered vessel listing by the end of the turn. In response, Bismarck's guns savaged the Hood for 30 points, starting another fire on the deck and damaging the Hood's Fire Control systems!
Prinz Eugen's bulkheads groaned as one compartment after another filled with water, but she wasn't finished yet. She delivered another 4 points to the beleaguered Hood, which still couldn't bring its fires or flooding under control (this led to another hit to Fire Control and 10 more points of damage in the end phase). Both sides fought on.
Turn 5 opened with Bismarck turning her attention to the Prince of Wales, destroying her B turret and dealing 10 points of damage. For its part, Prince of Wales's B turret failed to fire due to mechanical failure, despite the best efforts of the civilian engineers, but her A turret dealt a hefty 17 points to Bismarck and struck the engine room again! It began to seem as if Bismarck might lose the battle for want of an undamaged drive-shaft. Sensing an opportunity, this time it was the Hood that fired at the wounded Prinz Eugen, hoping to end the smaller ship's career once and for all. Hood's shells dealt 10 more points and destroyed another of the Prinz Eugen's secondary turrets.
Prinz Eugen's return fire slammed the Hood for 9 points and damaged the famous battle cruiser's engines, but the valiant Prinz Eugen had suffered too much, and she capsized and sank shortly thereafter. Staff officers on the bridge of the Bismarck sadly noted the event in the log book and offered silent prayers for their comrades. With the Prinz Eugen gone, British hopes for victory began to rise again, even though fires continued to burn out of control on the Hood (for an additional 7 points).
Turn 6, and the sky was full of shells. Smoke and flooding no doubt contributed to the Hood's fire going astray. Still riding high from last turn, Prince of Wales dealt a hefty 22 points to Bismarck, destroying a secondary battery and damaging the Bismarck's aft Fire Control station.
Despite the volume of incoming fire, Bismarck's gunners had lost none of their nerve, blitzing the Prince of Wales for 25 more points, damaging her rudder (locking it into a "port" turn attitude) and starting a fire on deck. During the end phase, both Hood and Prince of Wales suffered from uncontrolled fires, Hood taking 4 more points and Prince of Wales losing a secondary battery to ready ammo explosions.
Turn 7 saw the Bismarck draw ever closer to the exit, but the stately British ships were drawing ever closer to Bismarck. Prince of Wales' guns dealt 13 total points to Bismarck, but Hood could not find the range through the pall of smoke and splashes. Bismarck's shells struck the Prince of Wales like Thor's hammer, mauling the British battleship for 32 points of damage, destroying Turret A and a secondary turret, and starting another fire. Short of a miracle, it looked like the Bismarck just might make it off the map. During the end phase, Hood finally put out one fire and got its flooding under control. Prince of Wales put out one fire, only to see another spread out of control.
Hood's commander finally decided to bring the rear turrets into play, and swung the ship to starboard for a broadside, dealing 10 points to the Bismarck and scrapping one of her secondary turrets. Prince of Wales's remaining main turrets failed to fire due to persistent and recurring mechanical failures, but her secondary turrets did manage to inflict a superstructure hit on Bismarck, taking out another secondary battery. In the end phase, Prince of Wales' firefighters went above and beyond the call, extinguishing all three ongoing fires at once.
Moving slower but still inching closer to the exit point, Bismarck again targeted the Hood, hoping to send her to the bottom, but settled for inflicting 10 points and wrecking Hood's #2 main turret.
Turn 9 signaled the beginning of the end as the unflinching combatants hurled shells, bullets, insults, and anything that wasn't bolted down across the shortening distance. Prince of Wales maneuvered to bring her aft turrets into play, but mechanical problems again kept her out of the fight. Hood did her best, but residual damage from earlier must have been interfering with her Fire Control because she couldn't find the range. Bismarck, however, mercilessly pounded Hood with all guns, dealing another 10 points, starting a new fire, and destroying one of the Hood's torpedo mounts just as the battle cruiser was about to enter effective torpedo range.
Turn 10 would prove to be the last turn of the game. The finish would be very close indeed, as the Prince of Wales drew alongside Bismarck and passed within several hundred yards, vainly trying to stop the progress of the German juggernaut. Unfortunately, Prince of Wales' remaining guns either misfired or missed their mark. Hood's attacks, too, were sadly ineffective, which left only the guns of Bismarck to settle the affair.
Bismarck split her fire between Hood and Prince of Wales, and it proved as accurate as ever. Hood took 10 more points, and then, as a final insult, Bismarck obliterated the last operational main turret on Prince of Wales, hit her Fire Control center, and slammed her for 25 more points of damage! Eager to save their commands, the British conceded the battle. Bismarck proudly sailed across the exit point to claim her victory, but she, too, had taken a beating. By battle's end, her remaining Hull rating sat in the low 30s, she was missing a few weapons, and she was suffering reduced Fire Control efficiency and greatly-reduced speed. Turrets Anton, Bruno, Caesar, and Dora were still operational, but even so, we suspect she would have had little chance of making it safely back to port for badly-needed repairs.
All of the players shook hands over a well-fought battle. As I mentioned earlier, they were very happy with Naval Thunder, and everyone expressed a strong desire to play again. Since I enjoy Naval Thunder, I hope to oblige them in future. And before anyone asks, yes, I will be posting photos of this event in this thread as soon as I can edit and upload everything to an appropriate service. I want to express my thanks again to Harry for writing a cracking game, and for making these demos possible!

Cheers!
***************************************