Post by shigure on Mar 14, 2011 22:48:15 GMT -5
Here is the the first AAR. (With Pics)
Hopefully this will appease the masses... ;D
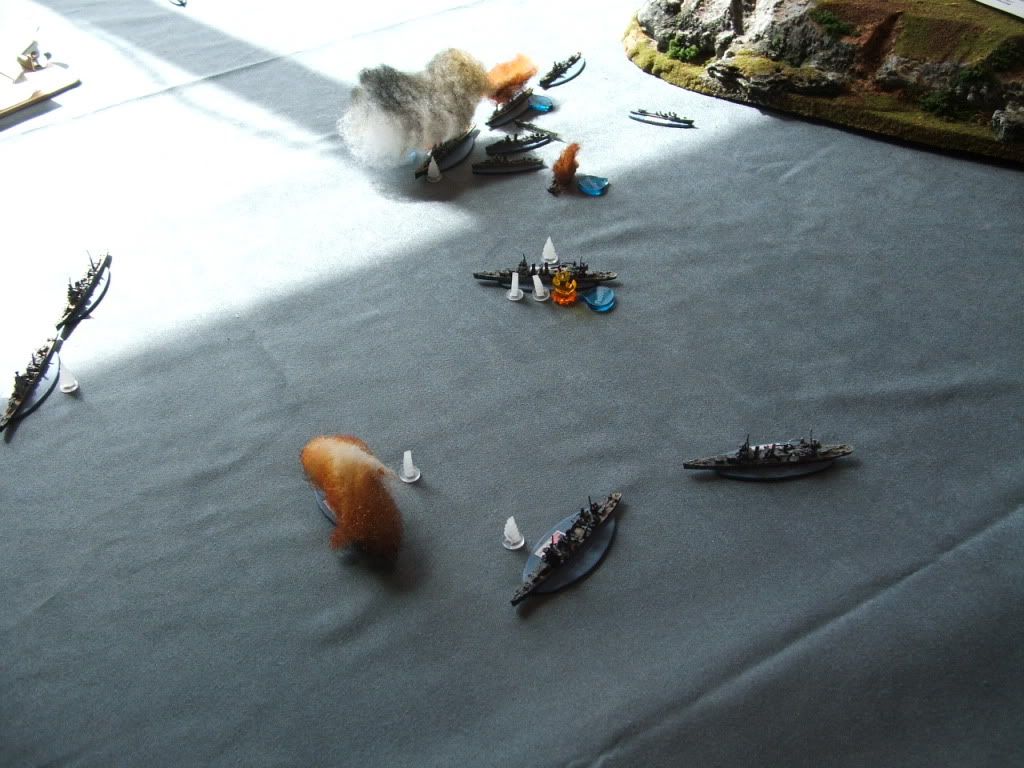
AAR- Battle of SAVO ISLAND played on March 13th.
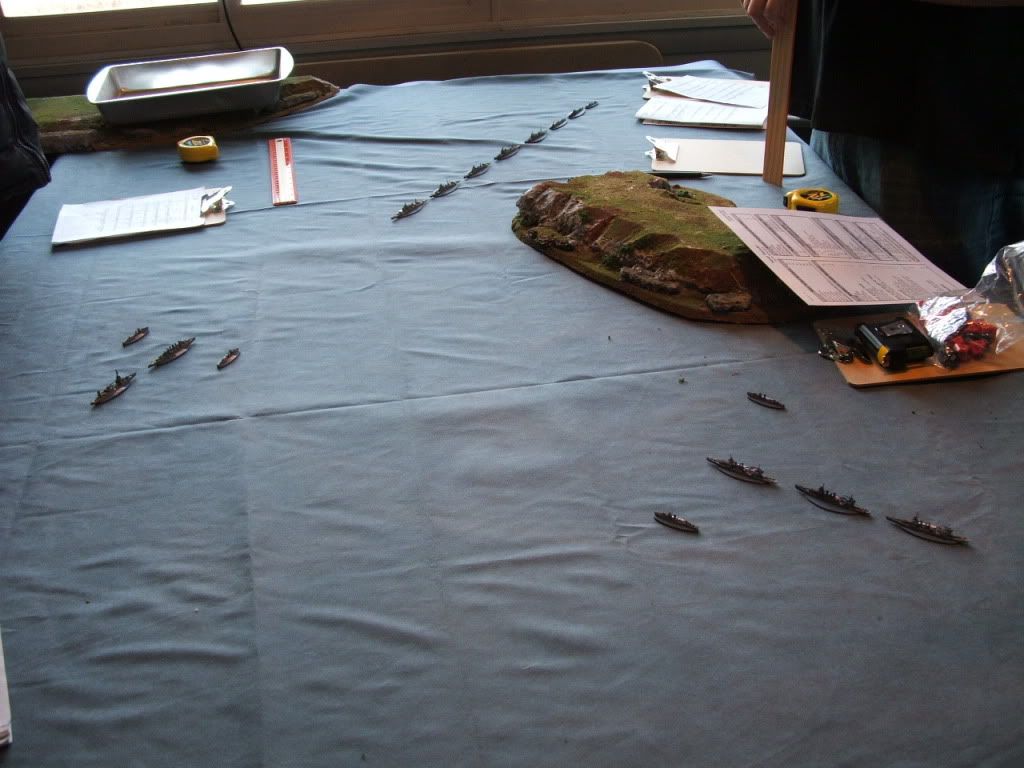
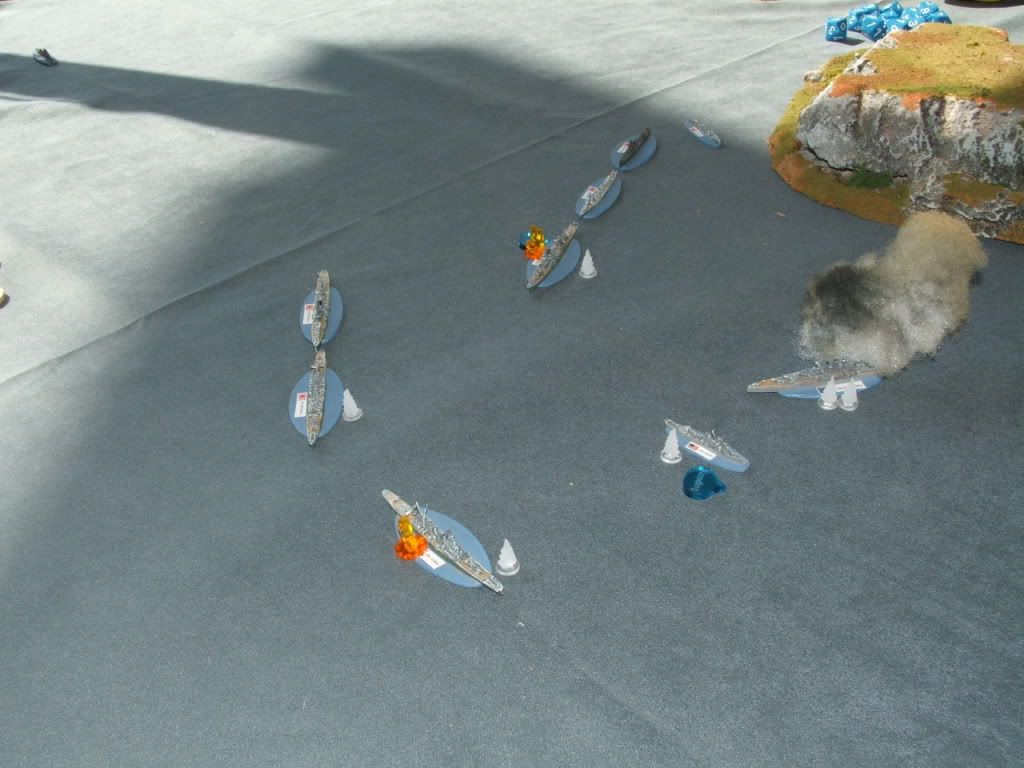
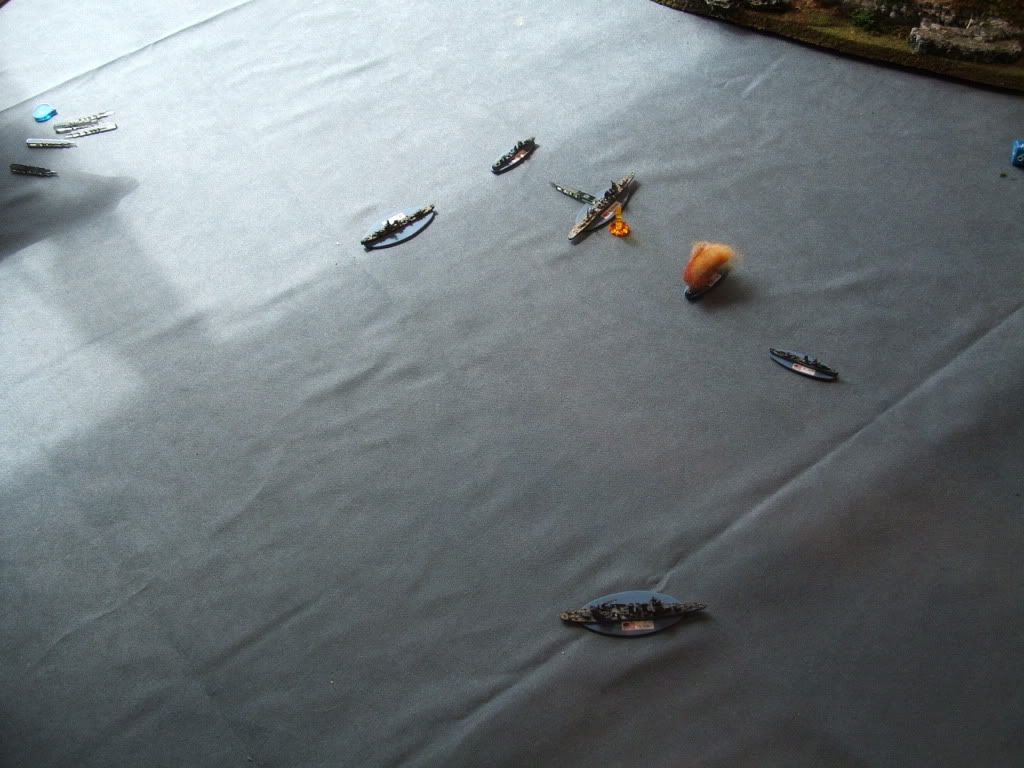
Initial Set-up with the IJN approaching from the top of the board. The Canberra group is located to the right and the Astoria group is to the left.
IJN Formation:
Canberra formation:
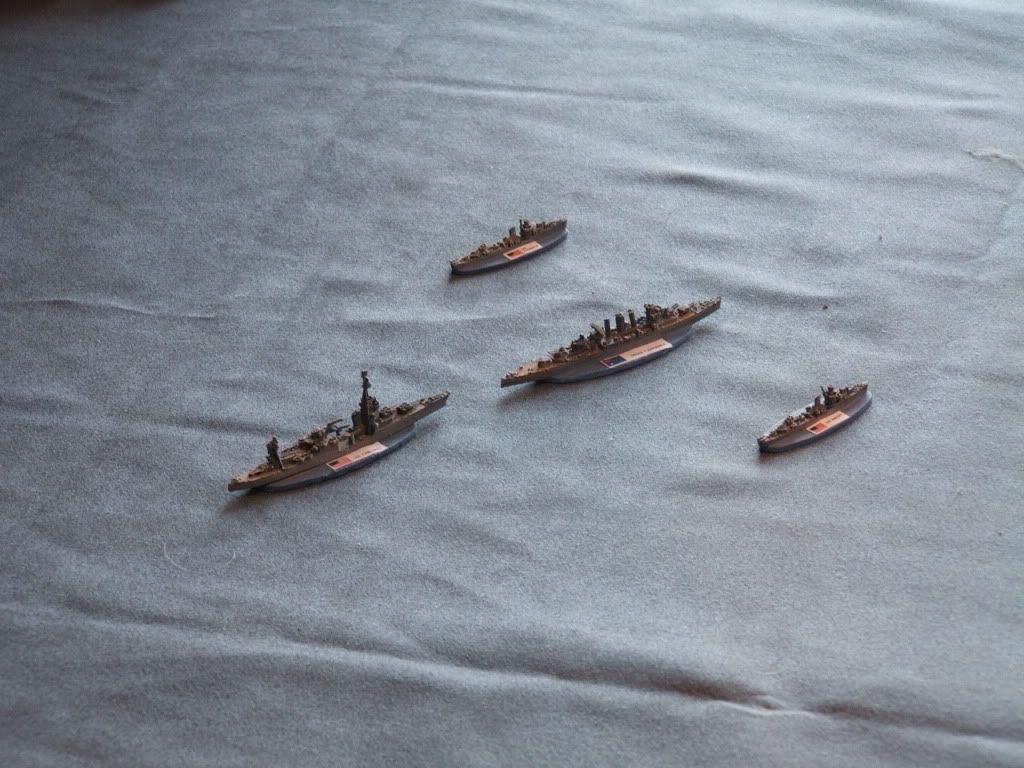
Astoria formation:

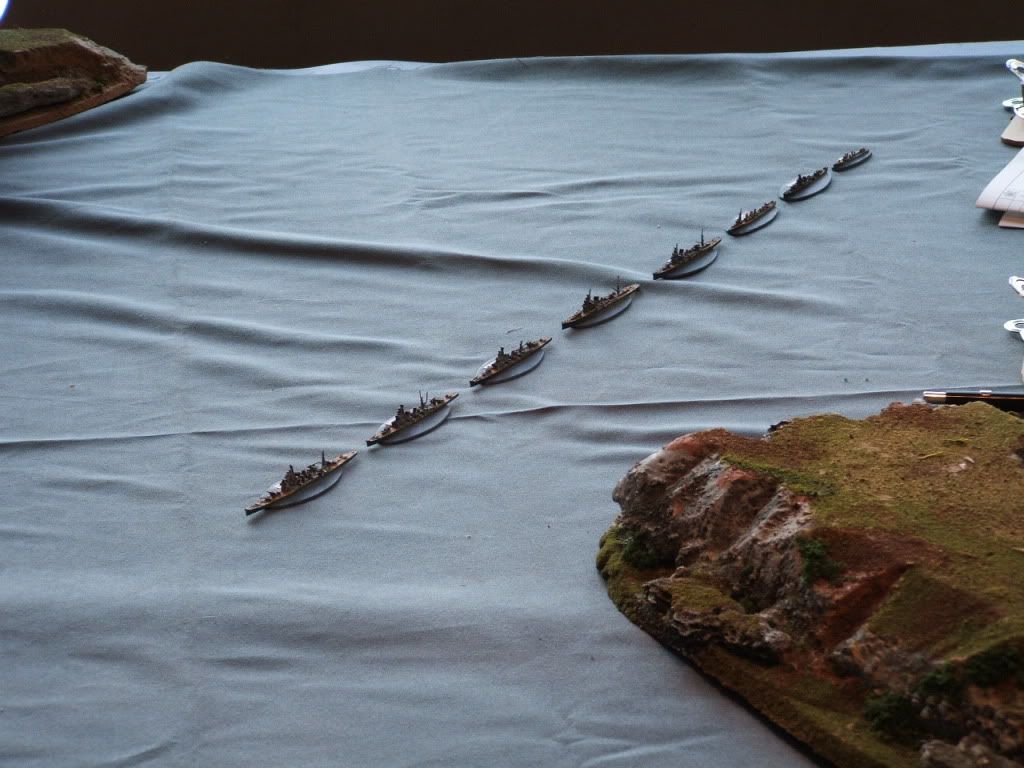
Pre- turn 1 Japanese turn- (Represents surprise)
• Japanese cruisers split battle line and maneuver for attack.
• Aerial flare dropped by spotter plane illuminate the Canberra and her group.
• Japanese open fire at HMAS Canberra and her group with little effect.
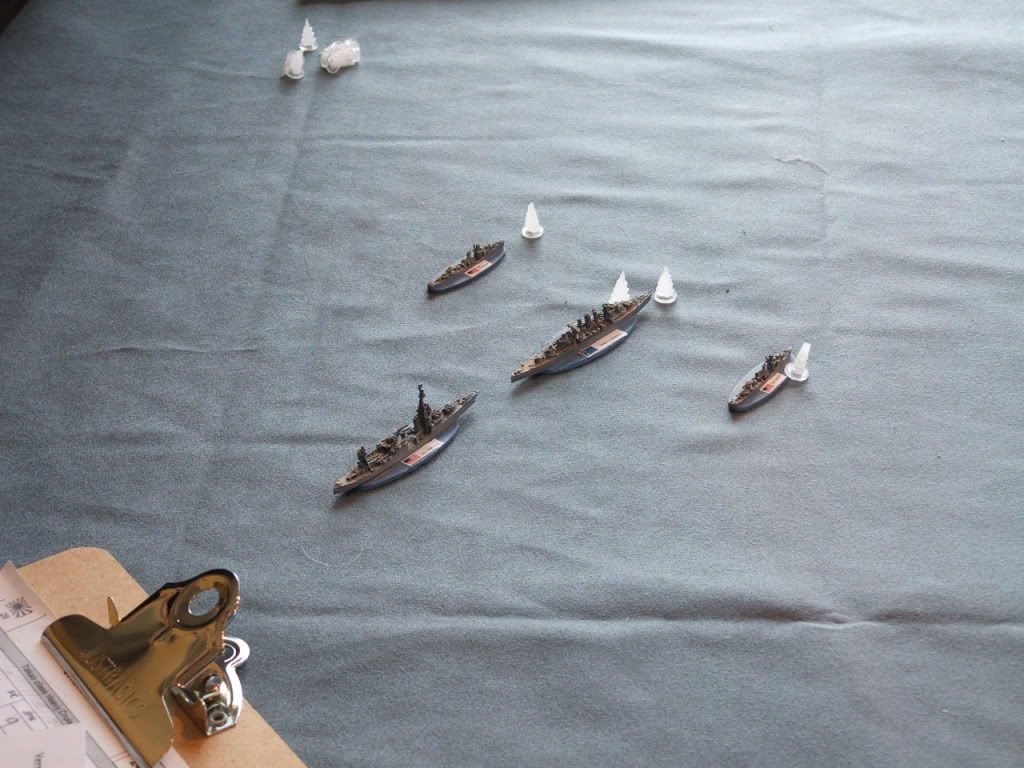
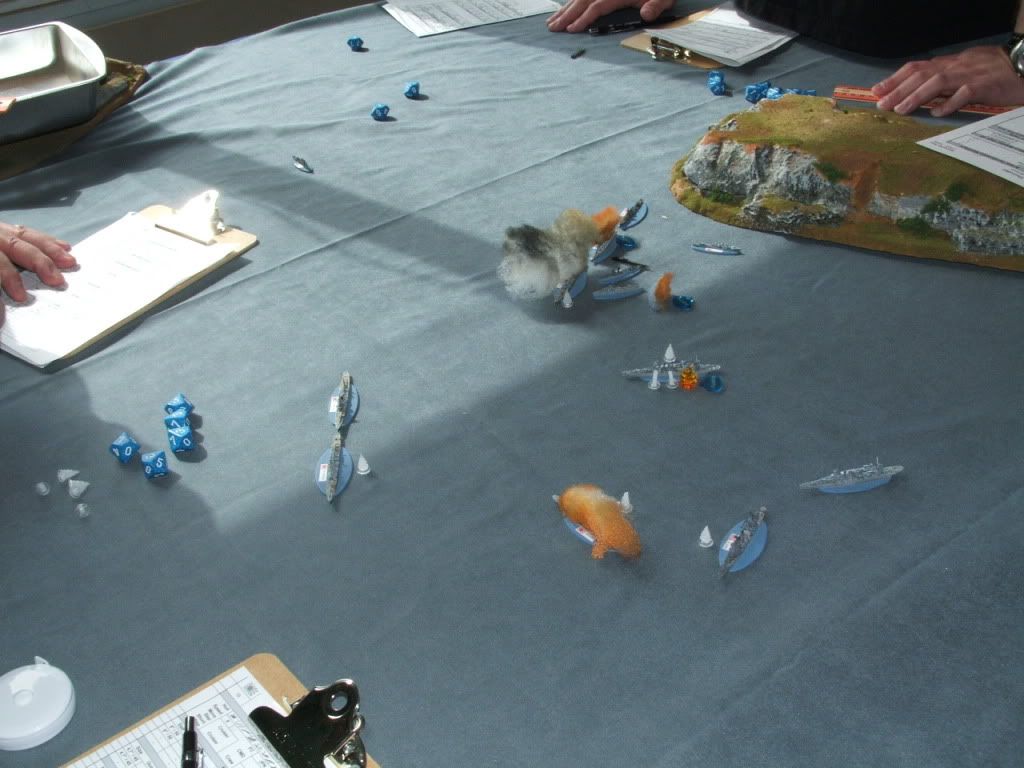
Turn 1
• All allied ships move ahead 4, required to make command checks to return fire as crews scramble to battle stations. All 4 Allied ships make command rolls. Chicago hits Chokai and starts a fire (illuminating Chokai).
• Japanese fire with minor effect.
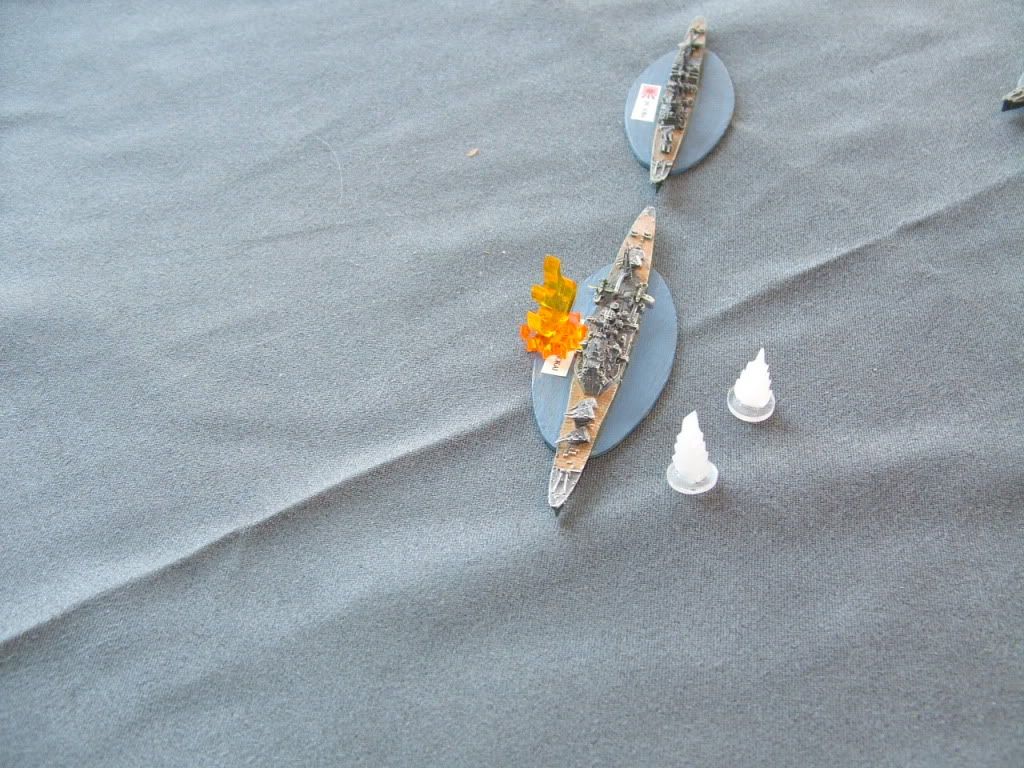
Turn 2
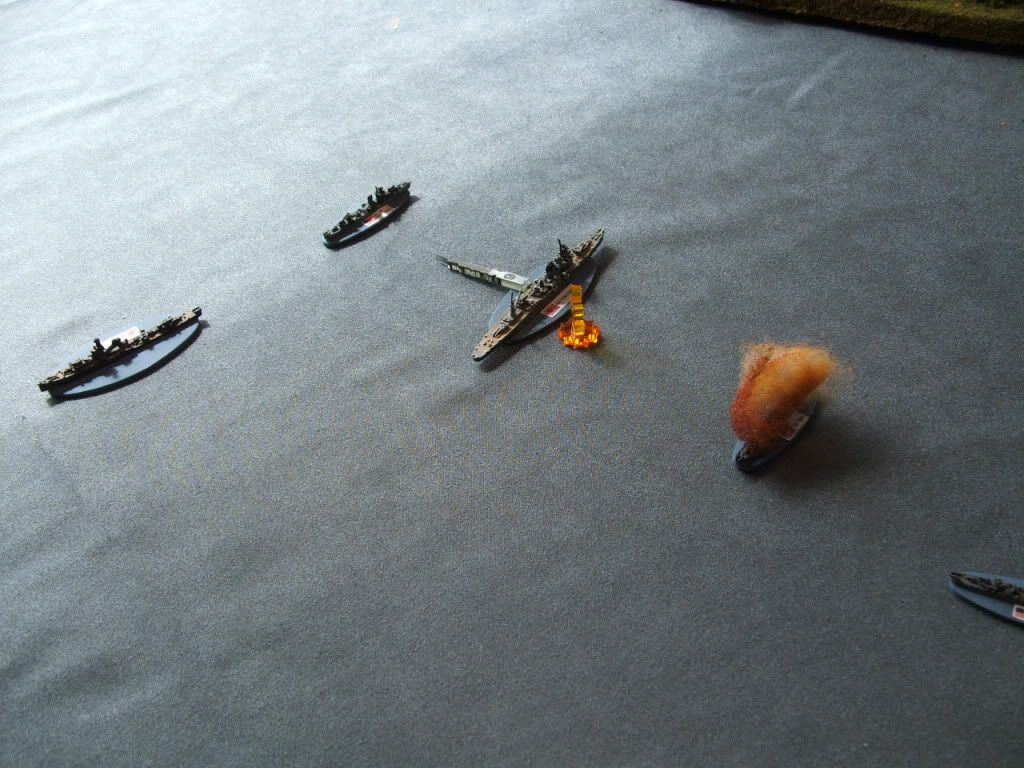
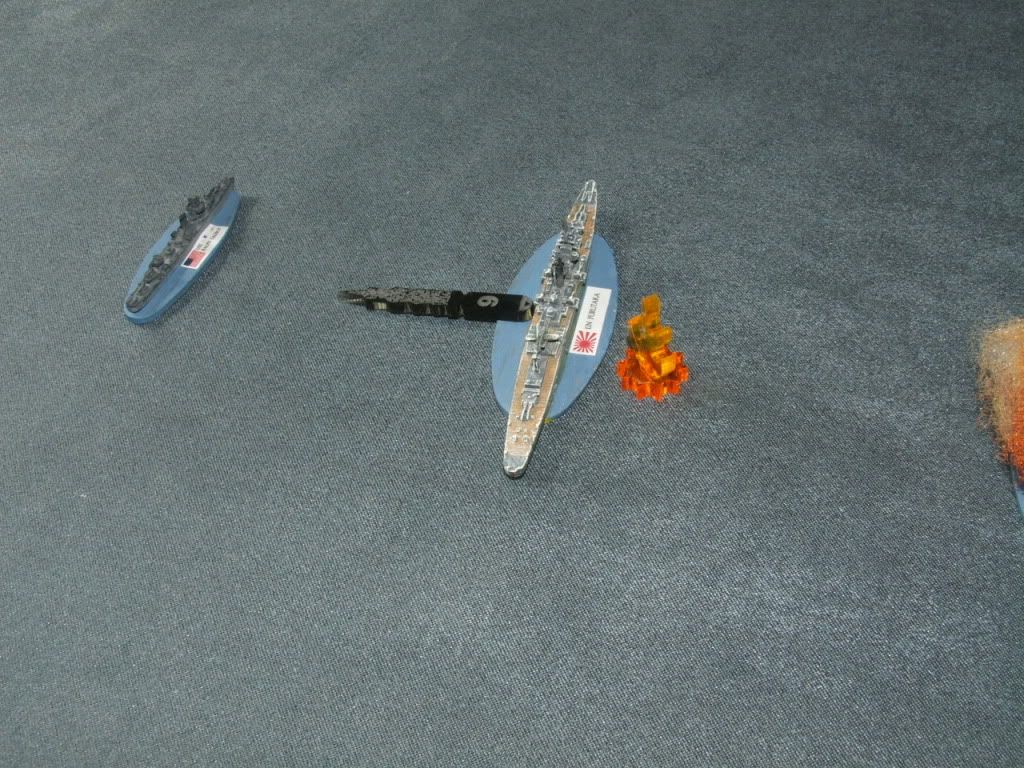
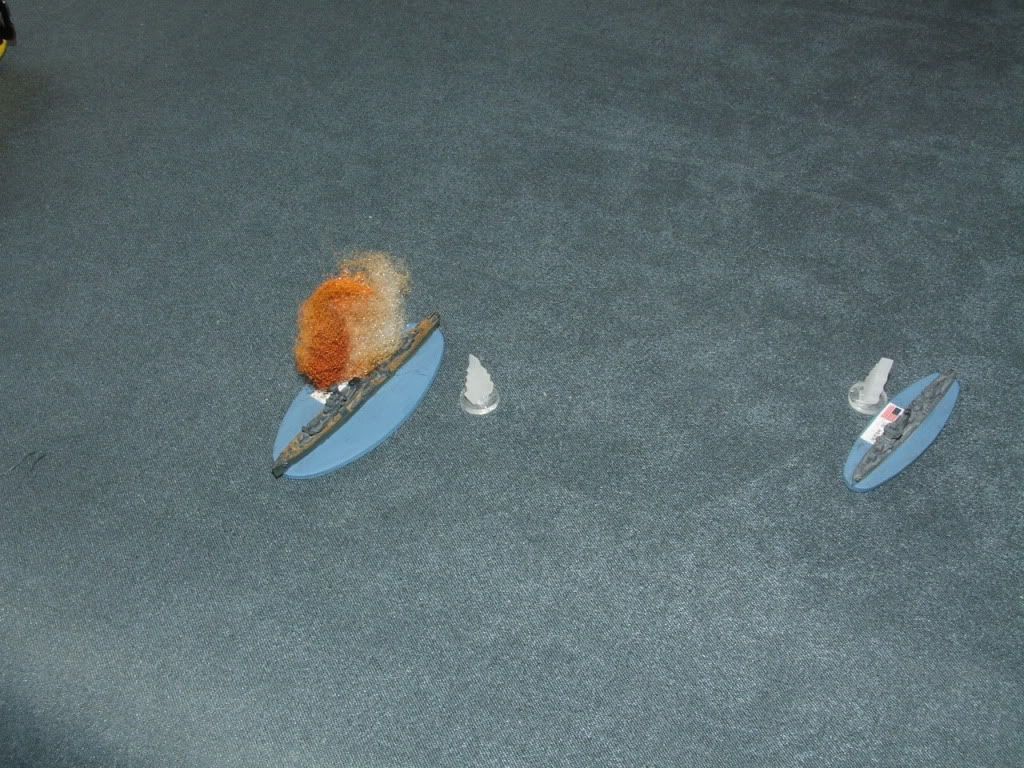
• USN Chicago (CA) sinks after taking five main battery hits from Chokai.
• IJN Chokai (CA) explodes due to a critical hit to a magazine from Chicago’s main guns and a 21” torpedo hit from DD Paterson.
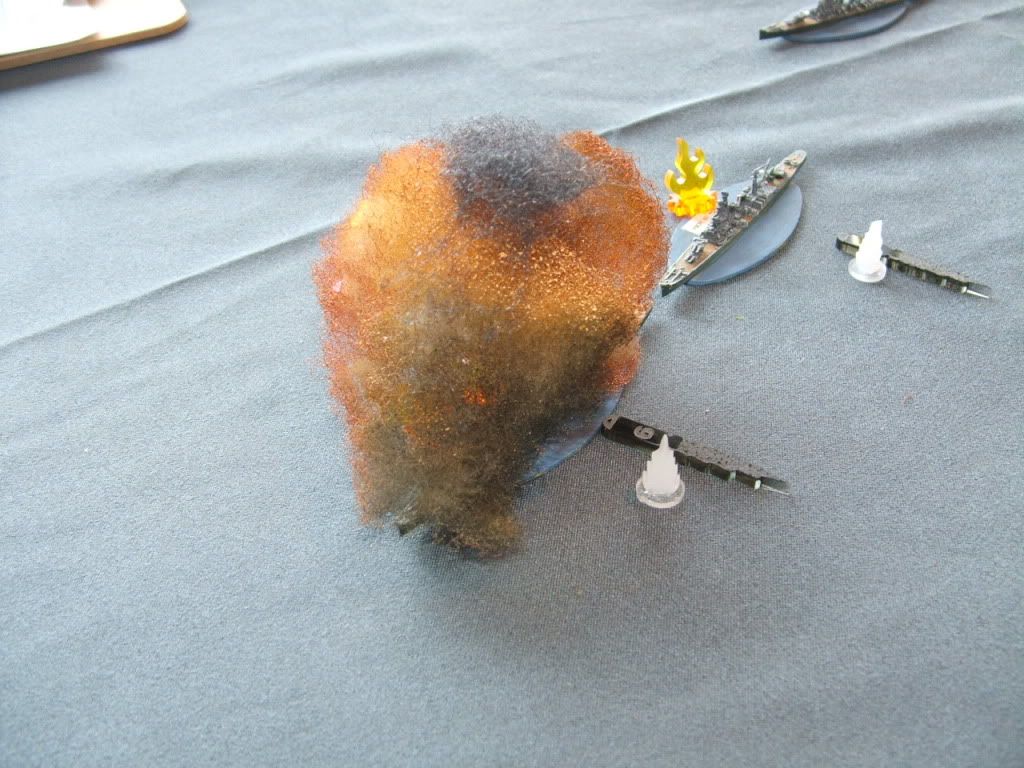
Chicago:

Chokai:
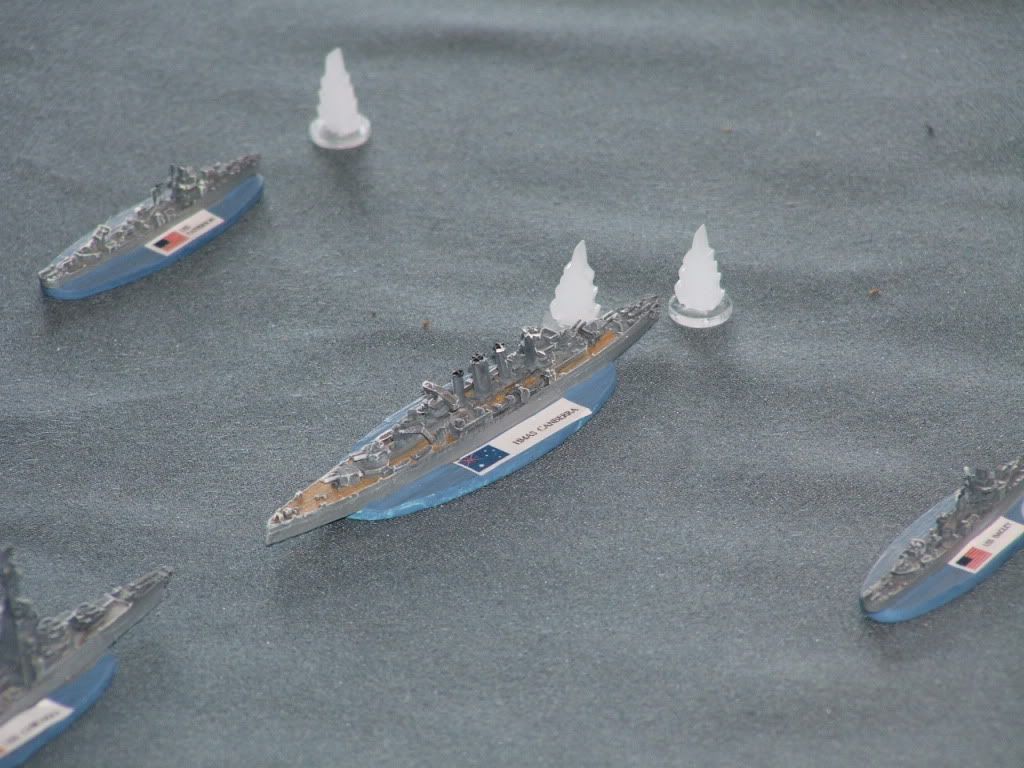
Turn 3
• HMAS Canberra (CA) sunk by gunfire from IJN Furutaka and IJN Kinugasa
• USN Patterson (DD) sinks as a result of gunfire from Aoba.
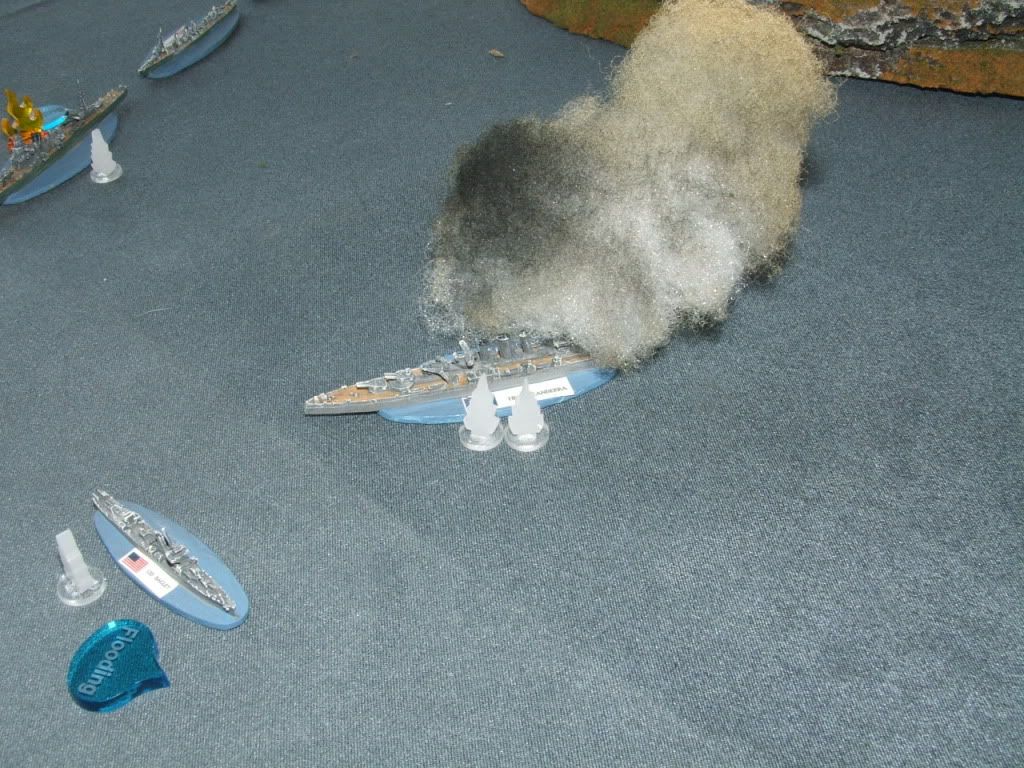
Canberra:
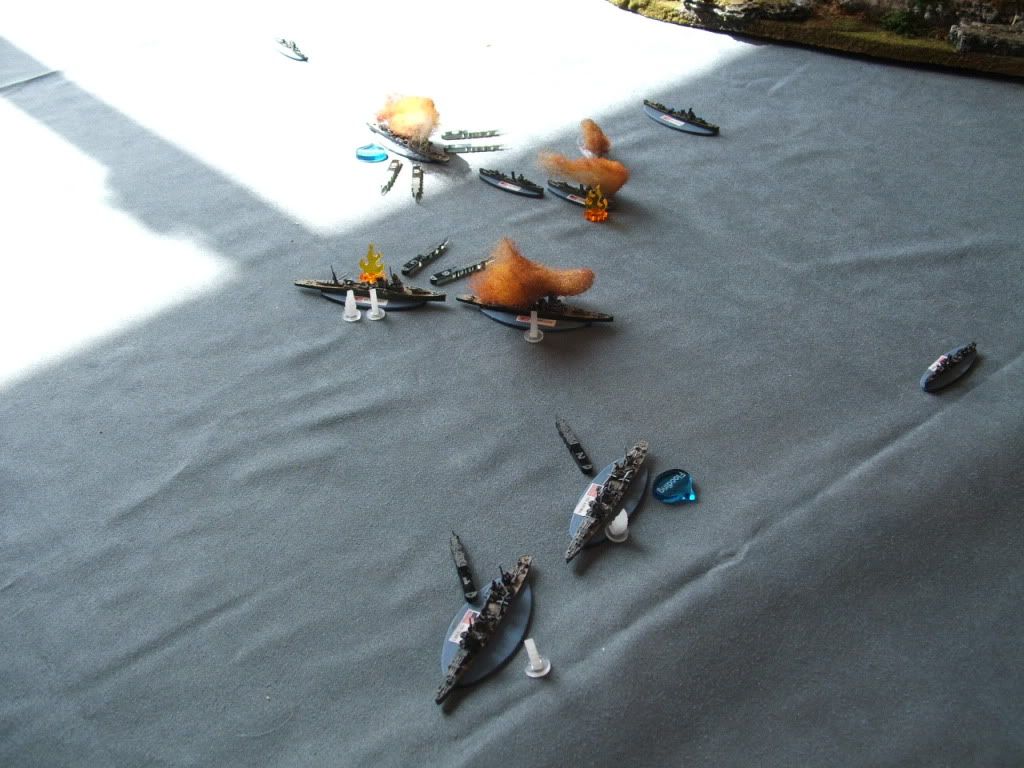
Turn 4
• IJN AOBA (CA) Sunk by main gunfire by Quincy.
• IJN KAKO (CA) Sunk by main gunfire by Vincennes.
• IJN TENRYU (CL) Sunk by main gunfire by destroyers Bagley, Talbot and Wilson.
• USN Bagley (DD) Sinks due to flooding at the end of turn.
Kako, Tenryu, & Bagley:
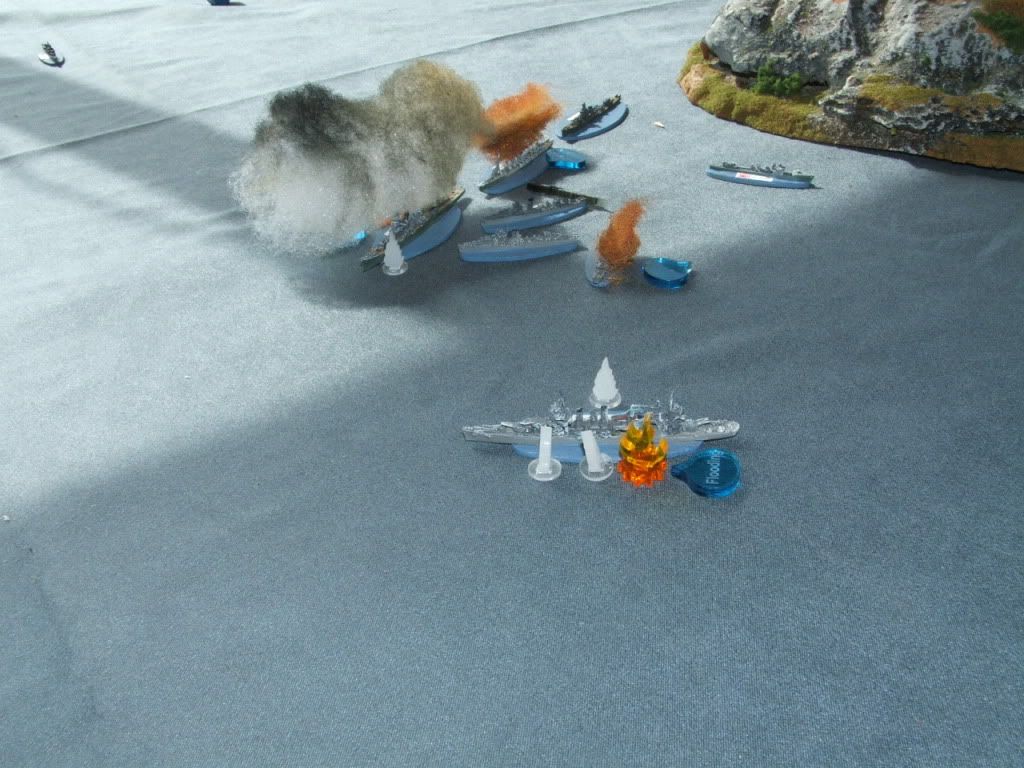
Aoba:
Turn 5
• IJN KINUGASA (CA) launches torpedoes but is then sunk by main gunfire by Astoria.
• USN HELM (DD) Sunk by main gunfire by Yunagi.
• IJN YUNAGI (DD) Sunk by main gunfire by destroyers Wilson and Helm.
• USN VINCENNES (CA) Sunk by torpedo from Yubari.
• USN ASTORIA (CA) Torpedoed by Kinugasa and sinks at the end of turn due to flooding.
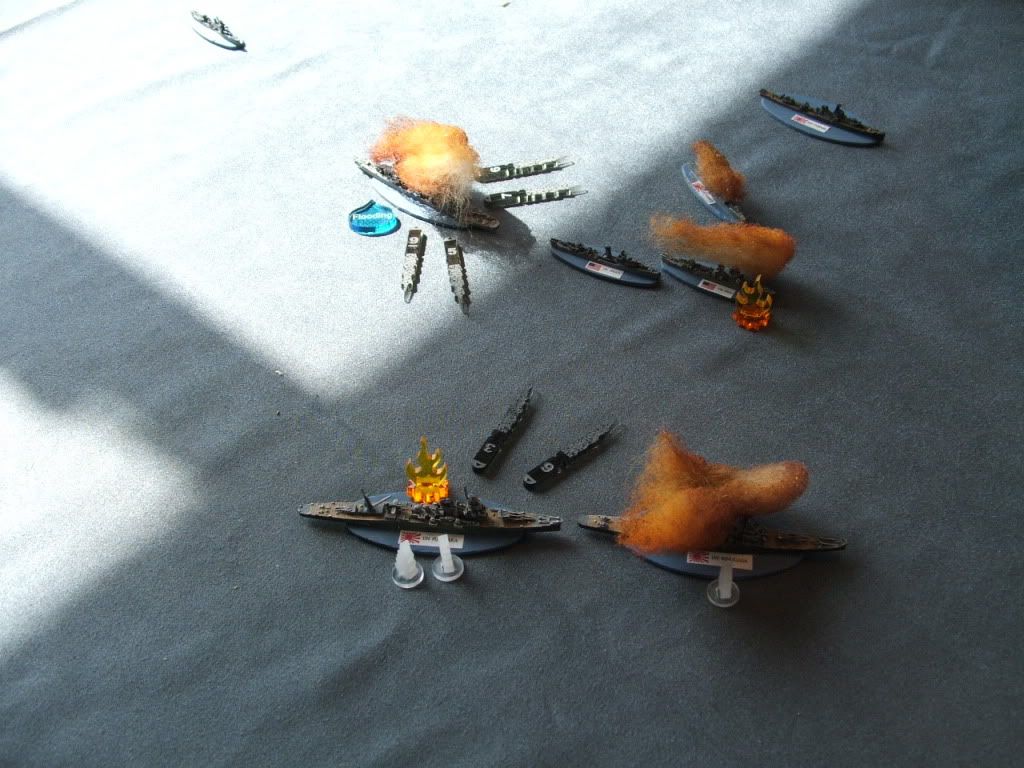
Turn 6
• USN BLUE (DD) Sunk by main gunfire by Furutaku.
• Furutaka (illuminated) set ablaze by shell hit.
Turn 7
• Furutaka takes out Ralph Talbot’s portside Torpedo mount before the fish can be launched.
Turn 8
• IJN YUBARI (CL) Sunk by main gunfire by Quincy and Wilson.
• Furutaka loses Aft Main Battery to gunfire from the Ralph Talbot.
Yubari:
Furataka:
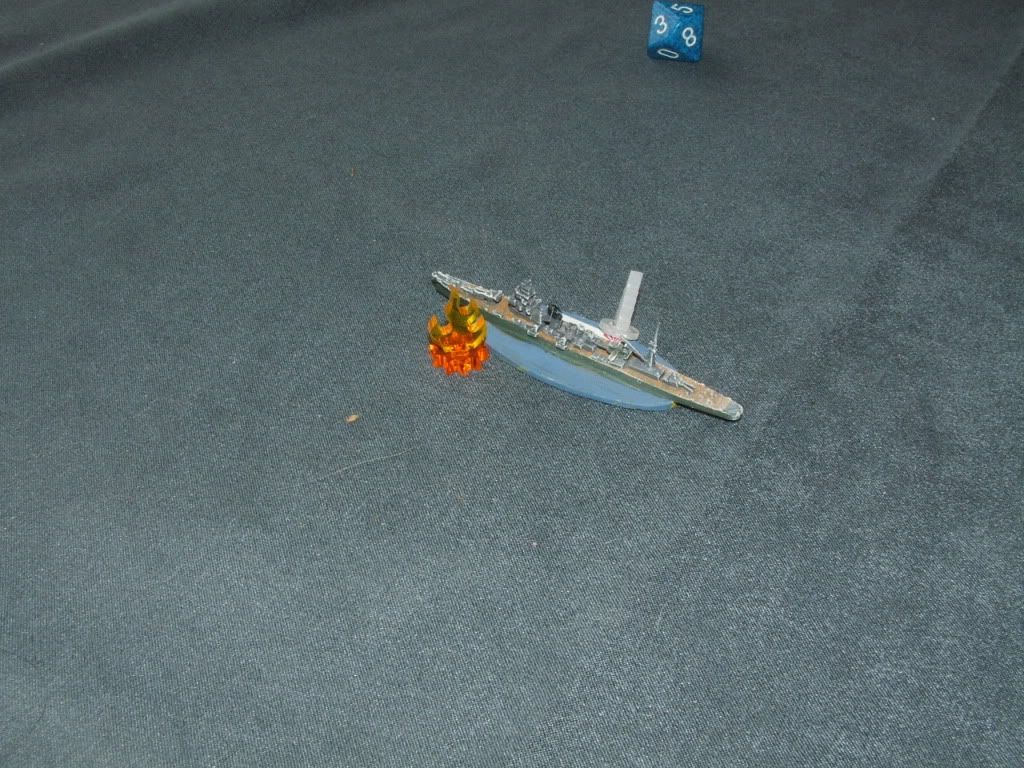
Concluded: Game called. Furutaka was about to go down in Turn 9 .
Japanese losses would have been: 5 Cruisers sunk, 2 Light Cruiser Sunk and 1 destroyer sunk.
Allied losses were: 4Cruisers sunk, 4 destroyers sunk.
Strategic victory goes to the Allies because the Allied invasion force at Guadalcanal in now safe from surface attack.
Had a lot of fun except I got my whole command shot out from underneath me. My only consolation was sinking the enemy flagship with a MAGAZINE explosion before the Chokai gunners riddled the Chicago.
Hopefully this will appease the masses... ;D
AAR- Battle of SAVO ISLAND played on March 13th.
Initial Set-up with the IJN approaching from the top of the board. The Canberra group is located to the right and the Astoria group is to the left.
IJN Formation:
Canberra formation:
Astoria formation:
Pre- turn 1 Japanese turn- (Represents surprise)
• Japanese cruisers split battle line and maneuver for attack.
• Aerial flare dropped by spotter plane illuminate the Canberra and her group.
• Japanese open fire at HMAS Canberra and her group with little effect.
Turn 1
• All allied ships move ahead 4, required to make command checks to return fire as crews scramble to battle stations. All 4 Allied ships make command rolls. Chicago hits Chokai and starts a fire (illuminating Chokai).
• Japanese fire with minor effect.
Turn 2
• USN Chicago (CA) sinks after taking five main battery hits from Chokai.
• IJN Chokai (CA) explodes due to a critical hit to a magazine from Chicago’s main guns and a 21” torpedo hit from DD Paterson.
Chicago:
Chokai:
Turn 3
• HMAS Canberra (CA) sunk by gunfire from IJN Furutaka and IJN Kinugasa
• USN Patterson (DD) sinks as a result of gunfire from Aoba.
Canberra:
Turn 4
• IJN AOBA (CA) Sunk by main gunfire by Quincy.
• IJN KAKO (CA) Sunk by main gunfire by Vincennes.
• IJN TENRYU (CL) Sunk by main gunfire by destroyers Bagley, Talbot and Wilson.
• USN Bagley (DD) Sinks due to flooding at the end of turn.
Kako, Tenryu, & Bagley:
Aoba:
Turn 5
• IJN KINUGASA (CA) launches torpedoes but is then sunk by main gunfire by Astoria.
• USN HELM (DD) Sunk by main gunfire by Yunagi.
• IJN YUNAGI (DD) Sunk by main gunfire by destroyers Wilson and Helm.
• USN VINCENNES (CA) Sunk by torpedo from Yubari.
• USN ASTORIA (CA) Torpedoed by Kinugasa and sinks at the end of turn due to flooding.
Turn 6
• USN BLUE (DD) Sunk by main gunfire by Furutaku.
• Furutaka (illuminated) set ablaze by shell hit.
Turn 7
• Furutaka takes out Ralph Talbot’s portside Torpedo mount before the fish can be launched.
Turn 8
• IJN YUBARI (CL) Sunk by main gunfire by Quincy and Wilson.
• Furutaka loses Aft Main Battery to gunfire from the Ralph Talbot.
Yubari:
Furataka:
Concluded: Game called. Furutaka was about to go down in Turn 9 .
Japanese losses would have been: 5 Cruisers sunk, 2 Light Cruiser Sunk and 1 destroyer sunk.
Allied losses were: 4Cruisers sunk, 4 destroyers sunk.
Strategic victory goes to the Allies because the Allied invasion force at Guadalcanal in now safe from surface attack.
Had a lot of fun except I got my whole command shot out from underneath me. My only consolation was sinking the enemy flagship with a MAGAZINE explosion before the Chokai gunners riddled the Chicago.