Post by djbar on Oct 10, 2011 19:53:22 GMT -5
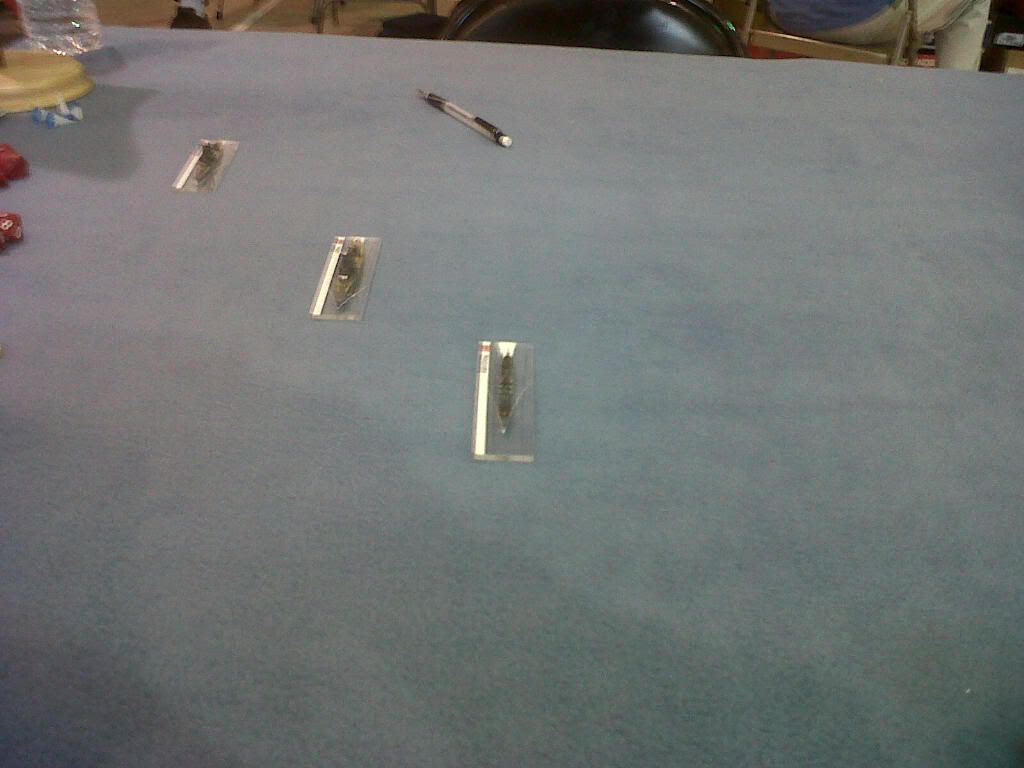
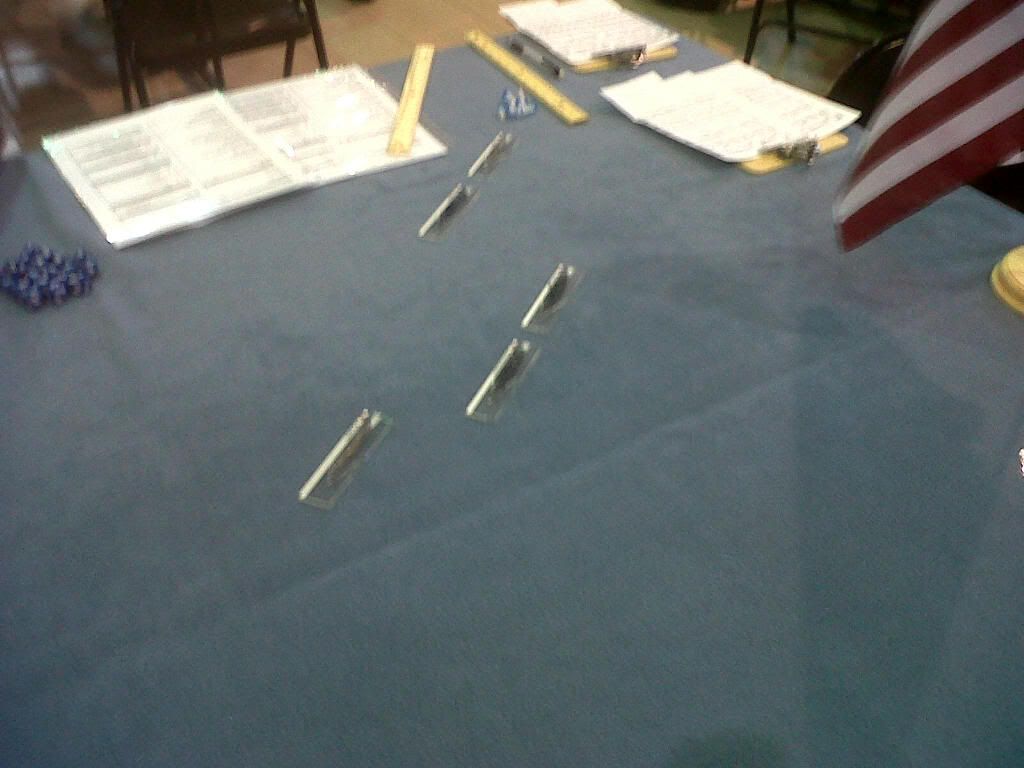
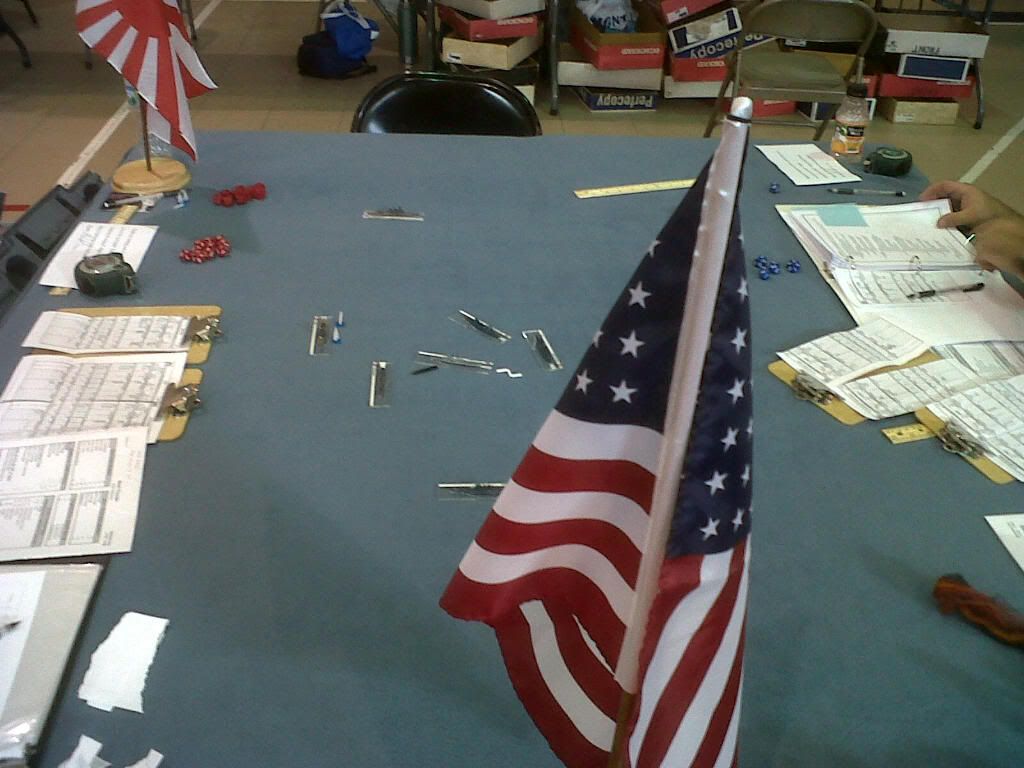
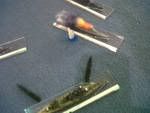
I played a pick up game of NT at Nav-con, near Milwaukee, Wisconsin over the past weekend. I sort of co-hosted this one with Mike "Meesch56" - I brought the gear, but Mike brought the experience and knowledge of the rules. Thanks Mike! I have to apologize for the pictures, I only had my phone. Here's the AAR:
Background - Late 1942. Guadalcanal is occupied by both Japanese and American ground forces. The Americans control the island’s only airfield, Henderson Field. Due to the aircraft the Americans have based at Henderson, they control the air and sea around Guadalcanal during the daytime hours. When night falls and U.S. air power is grounded, the Japanese sail down the slot on a regular basis to resupply their troops and harass the American forces.
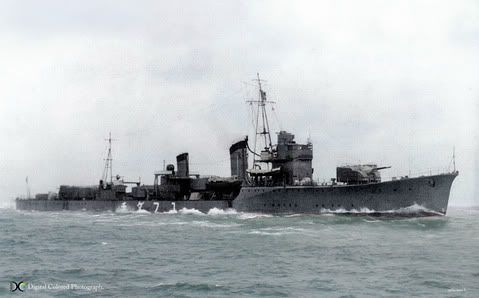
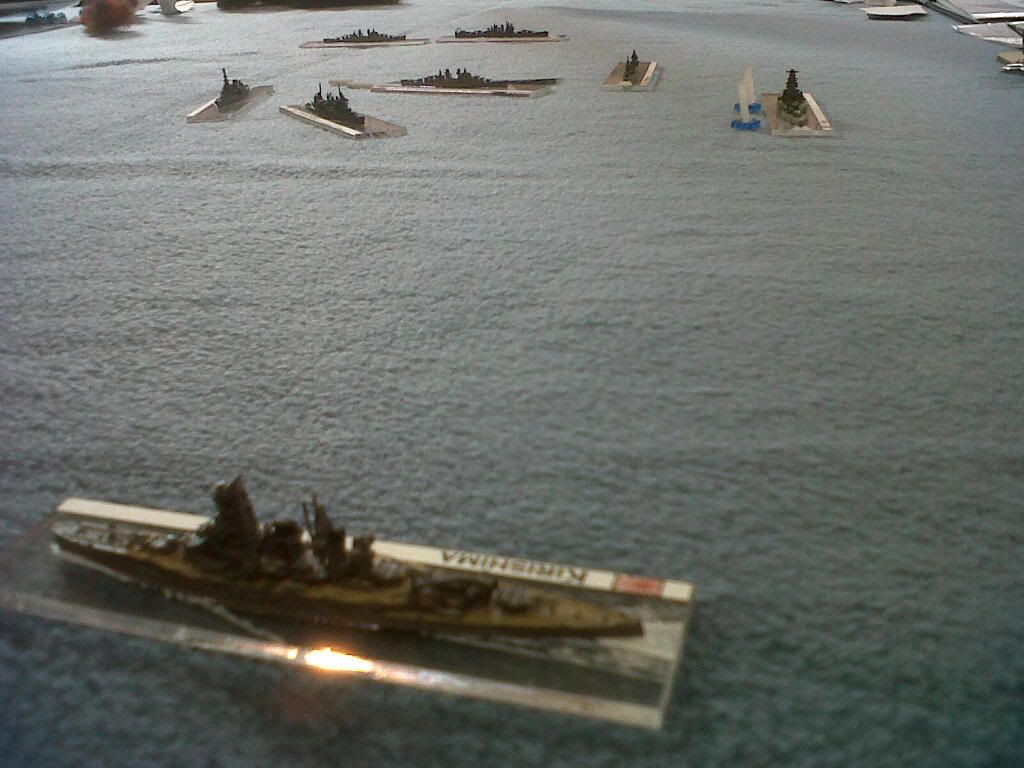
Turn 1 – Three IJN ships, CL Nagara, BC Hiei, and BC Kirishima sail southeast down the slot on the night of November 12, 1942 intent on shelling Henderson Field on Guadalcanal. A US task force made up of the only ships in the area to oppose the threat is quickly assembled and sails to the northwest to meet them. The American force is comprised of the CL Atlanta, flagship CA San Francisco, CA Portland, CL Helena and CL Juneau.
Turn 2 – Hiei opens the hostilities with a salvo from its eight, 14 inch guns. San Francisco is immediately hit, knocking out the aft turret.
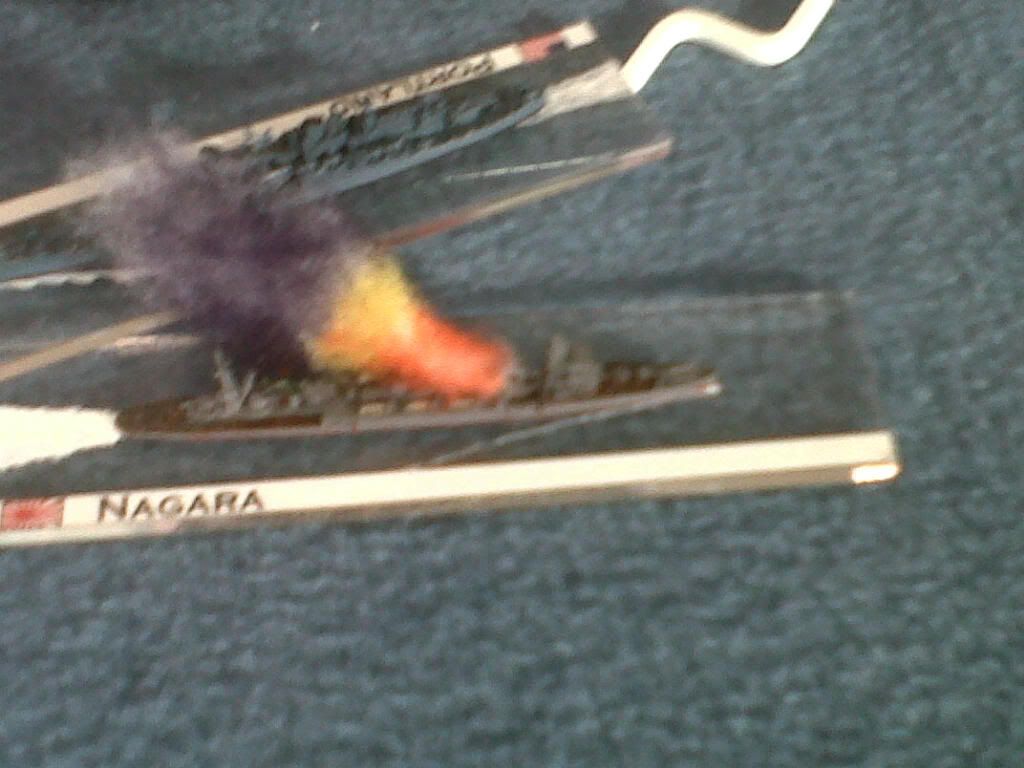
Nagara, in the lead of the Japanese formation, takes the brunt of the return fire from the American cruisers. Nearly all guns are knocked out and significant hull damage is inflicted.
Turn 3 – The Hiei continues to the south and as soon as her crews are able to reload, again fires a full salvo. Two shells penetrate the San Francisco’s armor, one detonating in its engineering spaces causing a reduction in the cruiser’s speed.
Kirishima splits from Nagara and Hiei and travels an easterly course to approach the Americans from the north. Kirishima fires a full broadside at longer range – the Portland being its intended target. Japanese night gunnery training pays off with hits on the Portland causing hull damage and a reduction in speed.
San Francisco, Portland concentrate their main armament fire on the Hiei. Four 8 inch shells hit, but fail to penetrate resulting in minor damage. Atlanta and Helena also fire on Hiei with little effect.
Nagara fires torpedoes at the Atlanta, but they miss due to Atlanta's evasive maneuvering.
After taking a quick but effective beating from the Hiei, with one turret out of action, engine room damage and barely afloat, the San Francisco retires into the night to live to fight another day.
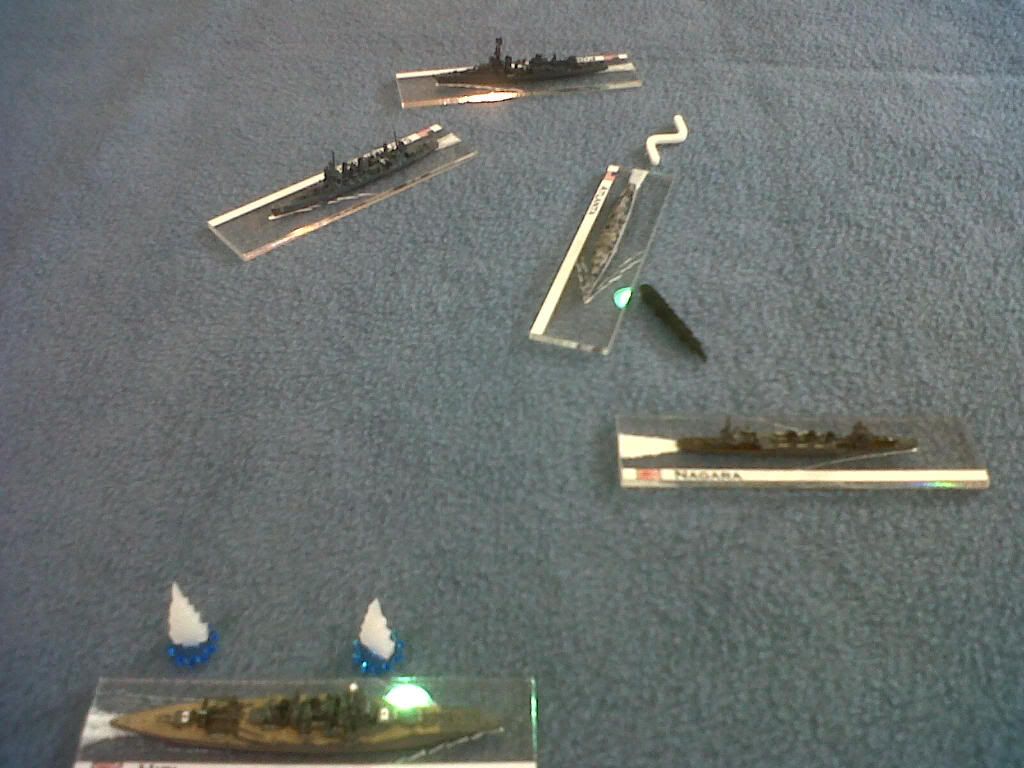
Turn 4 –The remaining American cruisers continue to close on the Hiei. Incredibly, Hiei fails to hit the approaching cruisers with its main battery, however hits the Atlanta several times with 6 and 5 inch secondaries. Portland gets a lucky 8 inch shell hit on the Hiei below the waterline causing flooding and a severe list. Hiei slows slightly due to the damage. Helena also gets into the fight scoring several hits on the Hiei with her quick-firing 6 inch guns. Portland’s secondaries take aim on the Nagara at point-blank range scoring several hits finally sinking the Japanese light cruiser.
Hiei takes an engine room hit causing a further reduction in speed. Damage control teams are able to contain the flooding on the Hiei.
Turn 5 – Gun directors on Kirishima, whose earlier course change put it further from the action, spot the silhouette of Portland as she emerges from the smoke generated by the Atlanta earlier. Kirishima lets fly with eight, 14 inch shells. Three hits penetrate causing flooding which sinks the American cruiser.
Hiei concentrates fire on the Juneau, getting two 14” hits, damaging the US light cruiser’s fire control system and causing fires.
Atlanta rakes the superstructure of Hiei with 5” shells starting fires and killing or injuring nearly everyone on the bridge as well.
Both Juneau and Atlanta fire spreads of torpedoes at Hiei. Juneau misses, but Atlanta scores three hits in quick succession. All three torpedoes fail to penetrate the Hiei’s armor belt though, causing damage, but not the knockout blow that might be expected.
Fires continue to spread on Juneau reaching the ready ammunition lockers. Damage from the resulting explosion is enough to send the Juneau to the bottom.
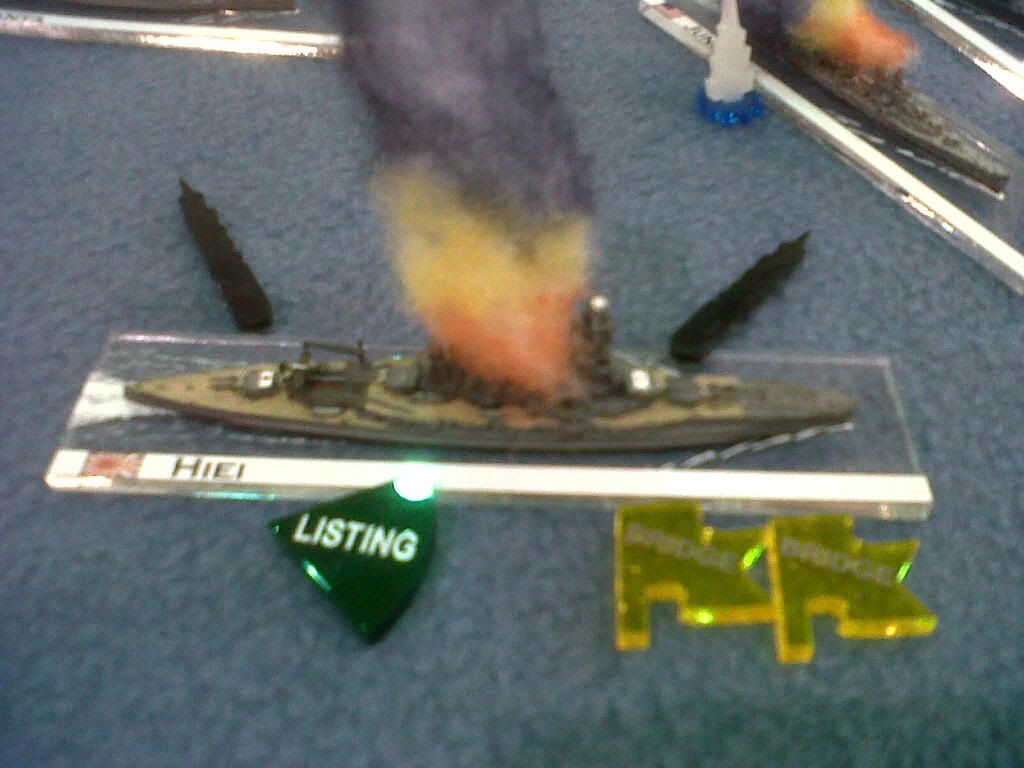
The captain of the Hiei, suffering shrapnel injuries from the hit to the bridge, with his ship on fire and listing, pulls out of the fight to allow damage control crews to try to save the ship. The fires continue for some time and cause ready ammo to explode, increasing the damage to the ship. Eventually the fires are brought under control and the Hiei limps away.
As the Hiei slips away, the undamaged Kirishima, which has maintained a greater distance to the north of the close combat, loses contact with the two remaining American ships in the darkness. On the American side, the Helena has not suffered any damage, but she accompanies Atlanta who is only able to make half speed.
Outcome:
US
CA Portland - Sunk
CA San Francisco – Severely damaged, forced to retire
CL Helena - Undamaged
CL Juneau – Sunk
CL Atlanta – Light Damage
Japanese
BC Hiei – Severely damaged, forced to retire
BC Kirishima – Undamaged
CL Nagara - Sunk
In a couple cases the damage inflicted in the game was very similar to the historical battle. Hiei was a flaming wreck (to be sunk the next day by carrier based planes). San Francisco took extensive damage but survived. Kirishima and Helena both escaped with almost no damage.
Background - Late 1942. Guadalcanal is occupied by both Japanese and American ground forces. The Americans control the island’s only airfield, Henderson Field. Due to the aircraft the Americans have based at Henderson, they control the air and sea around Guadalcanal during the daytime hours. When night falls and U.S. air power is grounded, the Japanese sail down the slot on a regular basis to resupply their troops and harass the American forces.
Turn 1 – Three IJN ships, CL Nagara, BC Hiei, and BC Kirishima sail southeast down the slot on the night of November 12, 1942 intent on shelling Henderson Field on Guadalcanal. A US task force made up of the only ships in the area to oppose the threat is quickly assembled and sails to the northwest to meet them. The American force is comprised of the CL Atlanta, flagship CA San Francisco, CA Portland, CL Helena and CL Juneau.
Turn 2 – Hiei opens the hostilities with a salvo from its eight, 14 inch guns. San Francisco is immediately hit, knocking out the aft turret.
Nagara, in the lead of the Japanese formation, takes the brunt of the return fire from the American cruisers. Nearly all guns are knocked out and significant hull damage is inflicted.
Turn 3 – The Hiei continues to the south and as soon as her crews are able to reload, again fires a full salvo. Two shells penetrate the San Francisco’s armor, one detonating in its engineering spaces causing a reduction in the cruiser’s speed.
Kirishima splits from Nagara and Hiei and travels an easterly course to approach the Americans from the north. Kirishima fires a full broadside at longer range – the Portland being its intended target. Japanese night gunnery training pays off with hits on the Portland causing hull damage and a reduction in speed.
San Francisco, Portland concentrate their main armament fire on the Hiei. Four 8 inch shells hit, but fail to penetrate resulting in minor damage. Atlanta and Helena also fire on Hiei with little effect.
Nagara fires torpedoes at the Atlanta, but they miss due to Atlanta's evasive maneuvering.
After taking a quick but effective beating from the Hiei, with one turret out of action, engine room damage and barely afloat, the San Francisco retires into the night to live to fight another day.
Turn 4 –The remaining American cruisers continue to close on the Hiei. Incredibly, Hiei fails to hit the approaching cruisers with its main battery, however hits the Atlanta several times with 6 and 5 inch secondaries. Portland gets a lucky 8 inch shell hit on the Hiei below the waterline causing flooding and a severe list. Hiei slows slightly due to the damage. Helena also gets into the fight scoring several hits on the Hiei with her quick-firing 6 inch guns. Portland’s secondaries take aim on the Nagara at point-blank range scoring several hits finally sinking the Japanese light cruiser.
Hiei takes an engine room hit causing a further reduction in speed. Damage control teams are able to contain the flooding on the Hiei.
Turn 5 – Gun directors on Kirishima, whose earlier course change put it further from the action, spot the silhouette of Portland as she emerges from the smoke generated by the Atlanta earlier. Kirishima lets fly with eight, 14 inch shells. Three hits penetrate causing flooding which sinks the American cruiser.
Hiei concentrates fire on the Juneau, getting two 14” hits, damaging the US light cruiser’s fire control system and causing fires.
Atlanta rakes the superstructure of Hiei with 5” shells starting fires and killing or injuring nearly everyone on the bridge as well.
Both Juneau and Atlanta fire spreads of torpedoes at Hiei. Juneau misses, but Atlanta scores three hits in quick succession. All three torpedoes fail to penetrate the Hiei’s armor belt though, causing damage, but not the knockout blow that might be expected.
Fires continue to spread on Juneau reaching the ready ammunition lockers. Damage from the resulting explosion is enough to send the Juneau to the bottom.
The captain of the Hiei, suffering shrapnel injuries from the hit to the bridge, with his ship on fire and listing, pulls out of the fight to allow damage control crews to try to save the ship. The fires continue for some time and cause ready ammo to explode, increasing the damage to the ship. Eventually the fires are brought under control and the Hiei limps away.
As the Hiei slips away, the undamaged Kirishima, which has maintained a greater distance to the north of the close combat, loses contact with the two remaining American ships in the darkness. On the American side, the Helena has not suffered any damage, but she accompanies Atlanta who is only able to make half speed.
Outcome:
US
CA Portland - Sunk
CA San Francisco – Severely damaged, forced to retire
CL Helena - Undamaged
CL Juneau – Sunk
CL Atlanta – Light Damage
Japanese
BC Hiei – Severely damaged, forced to retire
BC Kirishima – Undamaged
CL Nagara - Sunk
In a couple cases the damage inflicted in the game was very similar to the historical battle. Hiei was a flaming wreck (to be sunk the next day by carrier based planes). San Francisco took extensive damage but survived. Kirishima and Helena both escaped with almost no damage.